What are OBS Docks?
The different docks are stored as their own windows or tiles in OBS. You can drag and drop each individual dock, or even remove and add them from OBS, resize them, and even make changes within the docks.
To understand where the name comes from, we need to get a little more technical for a moment: "Dock" is a standard Qt terminology (software development). Docks are also called QDockWidget. Since the OBS interface is written in Qt, this name was also adopted. So it is a standard term for this type of user interface. Microsoft, for example, calls it a docking interface and also uses it extensively in Visual Studio.
Docks help you control your stream, refine it with scenes, sources and co, control your audio through it and much more. It is also possible to add additional docks using plugins. For example, if you connect to Twitch, a chat dock and a dock with stream information will appear in addition to the standard docks. However, we will mainly cover the standard docks in this chapter, since everyone works with these docks and the external docks can be different for everyone.
Scenes, Sources and Audio Mixer - standard docks
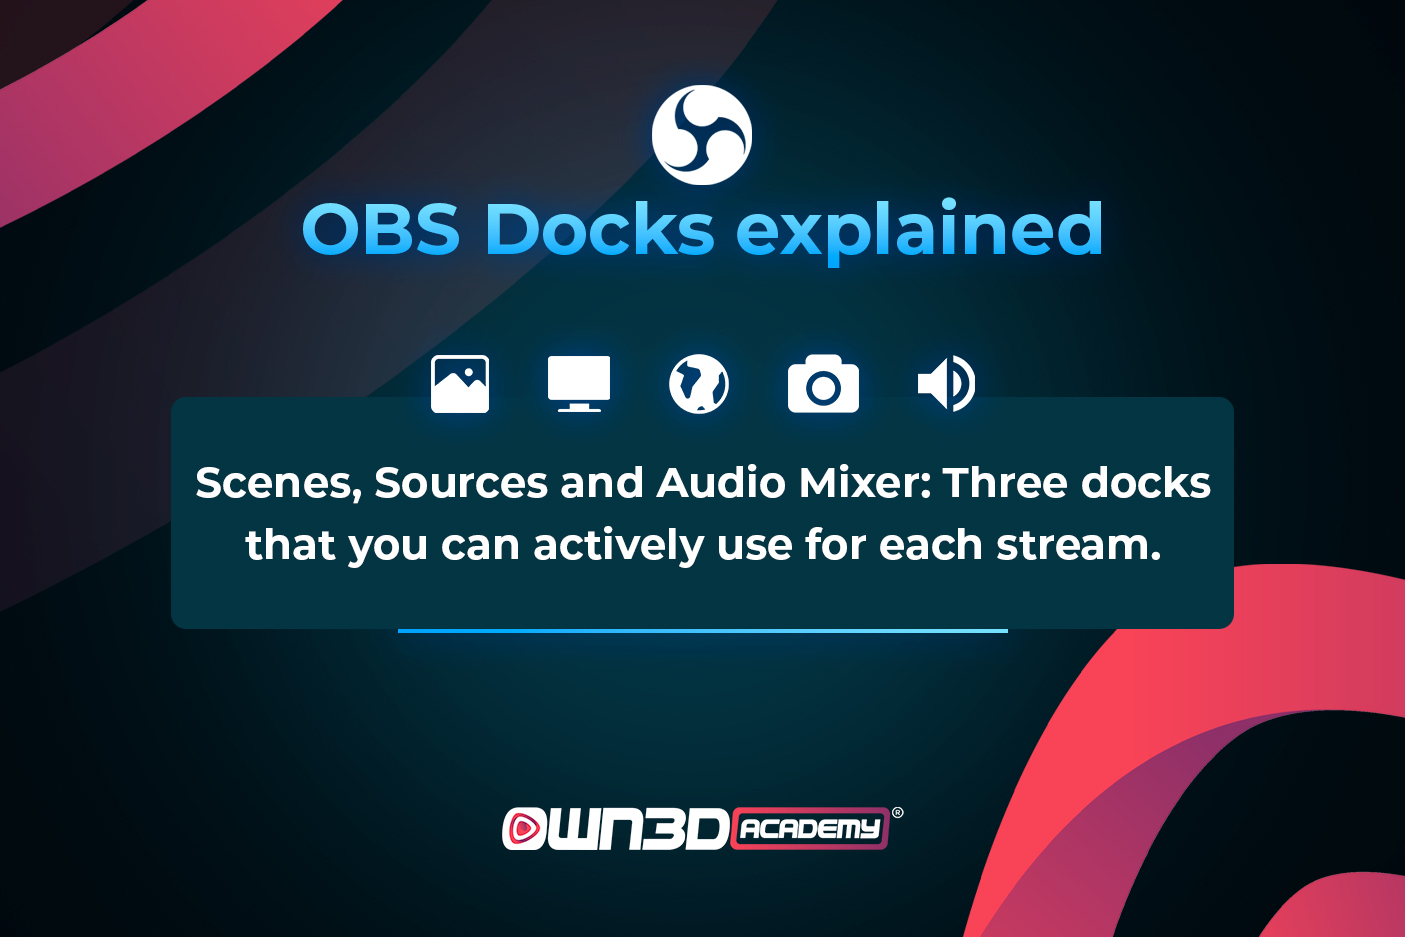
OBS has six docks integrated into the broadcasting tool: Scenes, Sources, Audio Mixer, Scene Transitions, Controls and Statistics. We will roughly go into the respective docks in more detail - but there will be separate chapters for each dock. Stay tuned!
Scenes
Imagine that your stream is like a movie. Almost every movie has a beginning, a plot, and credits. You can think of your scenes as something like that. Many streamers have a start scene at the beginning, then scenes where they chat or play (depending on the category), and finally there's an end scene.
Scenes and sources go hand in hand. You can have a scene without sources, but then you won't see anything in the stream. Creating a source without a scene is not even possible. There are usually several sources in a scene.
Sources
The sources are an essential part of your stream, because in the source dock you can set everything that should be seen in the stream. Once you've created a scene, you can immediately add sources.
What kind of sources you need depends on what you want to stream. If you're only streaming Just Chatting, in theory you wouldn't need more than one video capture source with your camera and maybe one source with the chat - either as a browser source or from an external tool like OWN3D Pro.
Audio-Mixer
The Audio Mixer is where your sound comes together: Here you'll see all the inputs and outputs your stream hears. This includes desktop audio, microphone, sources like alerts, and anything else that creates a sound. For each sound, you can change the volume, mute the sound completely, adjust the properties, or apply a filter to the sound. The green-yellow-red bar at each sound source shows how loud that source is.
Scene transitions, controls and statistics - standard docks
Scene transitions
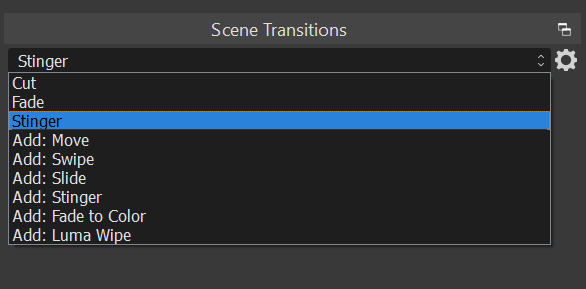
When you change scenes, for example from the start scene to the game scene, it is possible to add an exciting effect for the transition at "Scene Transitions" (or Transition in English). OBS has already integrated some transitions.
- Cut, as you can tell from its name, is a hard cut into the next scene - no frills.
- With Fade you have a softer "cut" into the next scene.
- With Swipe you move one scene with the next one to the side or the coming scene visually "overlaps" the old scene. You can also define from which side the scene should come.
- A stinger is a bit more complex. You can upload a video, for example, which should serve as a transition to the next scene. Most streamers use the stinger, because you can adjust the transition effect individually to your own stream. You can see how such a transition looks like on OWN3D.tv.
- Fade to color works similarly to Fade, but you can set which color you would like to have
- With the Lumpa wipe you have many different transition effects stored. You can choose from more than 30 standard effects.
Control
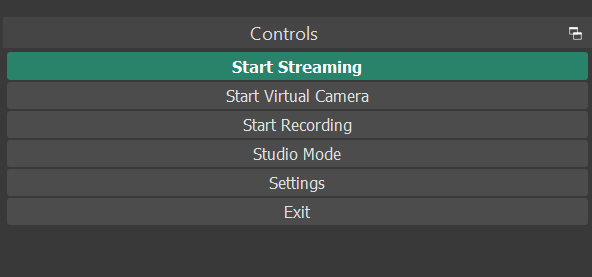
The "Controls" are located in the lower right dock. When you want to start streaming, recording, or using a virtual camera, you'll find the start buttons in this dock. Once you've created a stream, a recording, or the virtual camera, you can stop it by clicking on the respective button again.
You can also activate Studio mode, which allows you to make live changes to the scene during the stream without anyone noticing or opening your settings. We've already gone over the settings in greater detail in the previous chapter, but if you want to take a closer look, you can do so here!
If you want to close OBS, you can also click Exit here.
Statistics and Data
Look at the statistics to know how stable your stream is. In the user interface, this dock is not enabled by default. These statistics, however, are essential because they show whether your viewers are experiencing a smooth stream.
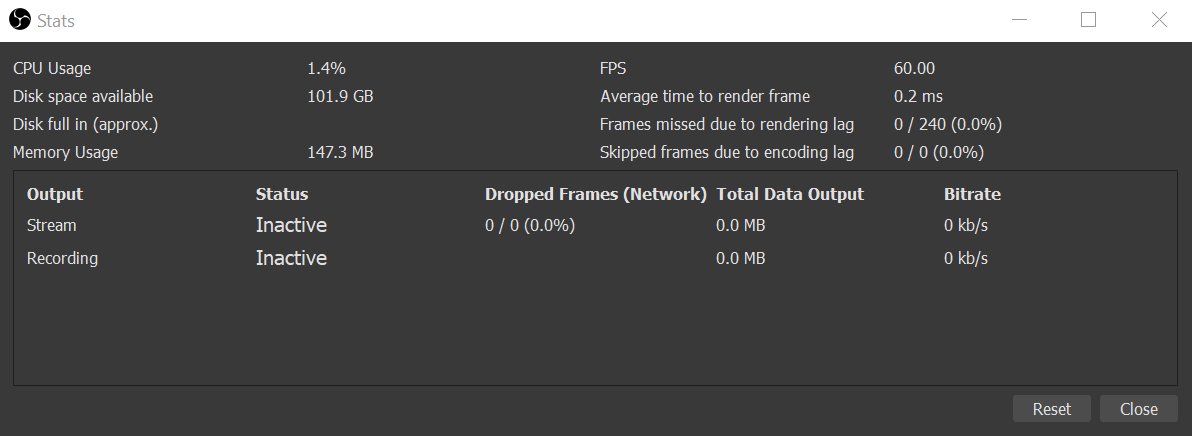
For example, you will notice it immediately if OBS skips frames due to rendering or encoding delays. Also, if you have network issues, such as your internet is down or a download running in the background by mistake, this will be displayed immediately at Missed Frames (Network). If OBS detects a significant issue, it will be highlighted in orange or red in the statistics.
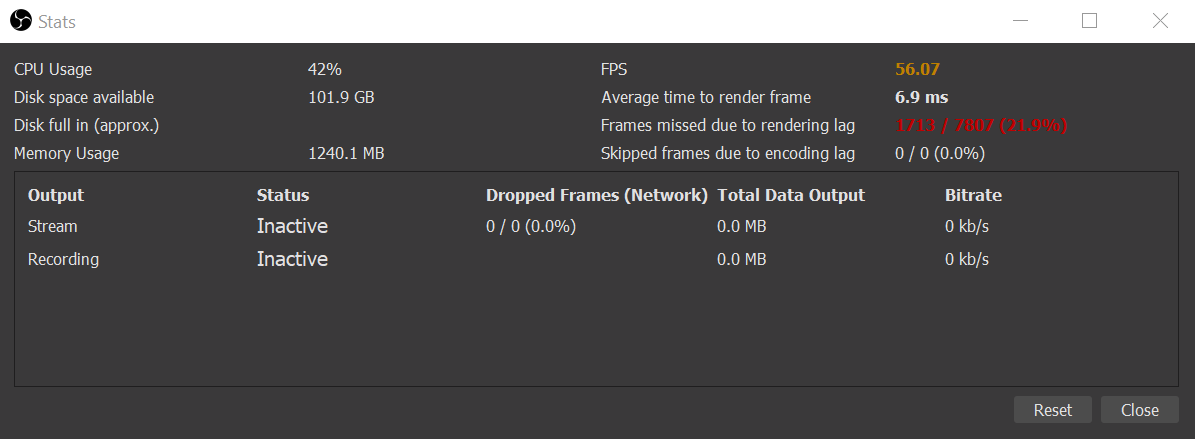
As a result, make sure to add this dock to your OBS user interface. It's entirely up to you where you put it. The most important thing is that you are aware of your statistics.
Fix & Reset
Once you have defined the docks you need, you can fix the "User Interface" (UI) in "View" > "Docks". This will prevent you from accidentally deleting or moving a dock.
Click on "Reset User Interface (UI)" to reset the default settings of the OBS user interface. The contents of the docks are not reset, only the positions of the docks.

