1 Twitch Studio Webcam Setup - Basics
In livestreaming on Twitch, it's actually good practice these days to use a so-called facecam. This is a camera that is aimed directly at the respective creator. Its purpose is to capture the reactions during gaming and to establish a closer connection to the viewer. In most cases, however, the image recorded by the camera does not adorn the center of the picture or occupy a prominent place in the stream - quite the opposite: it is usually placed at the bottom of the picture in order to direct the focus entirely to the actual action. The facecam is merely meant to be a small extension of the stream and show what the person who is playing looks like. With a streaming tool like Twitch Studio, webcams can be easily set up and customized accordingly. We'd like to explain how it all works in this detailed tutorial.
2 Twitch Studio webcam setup
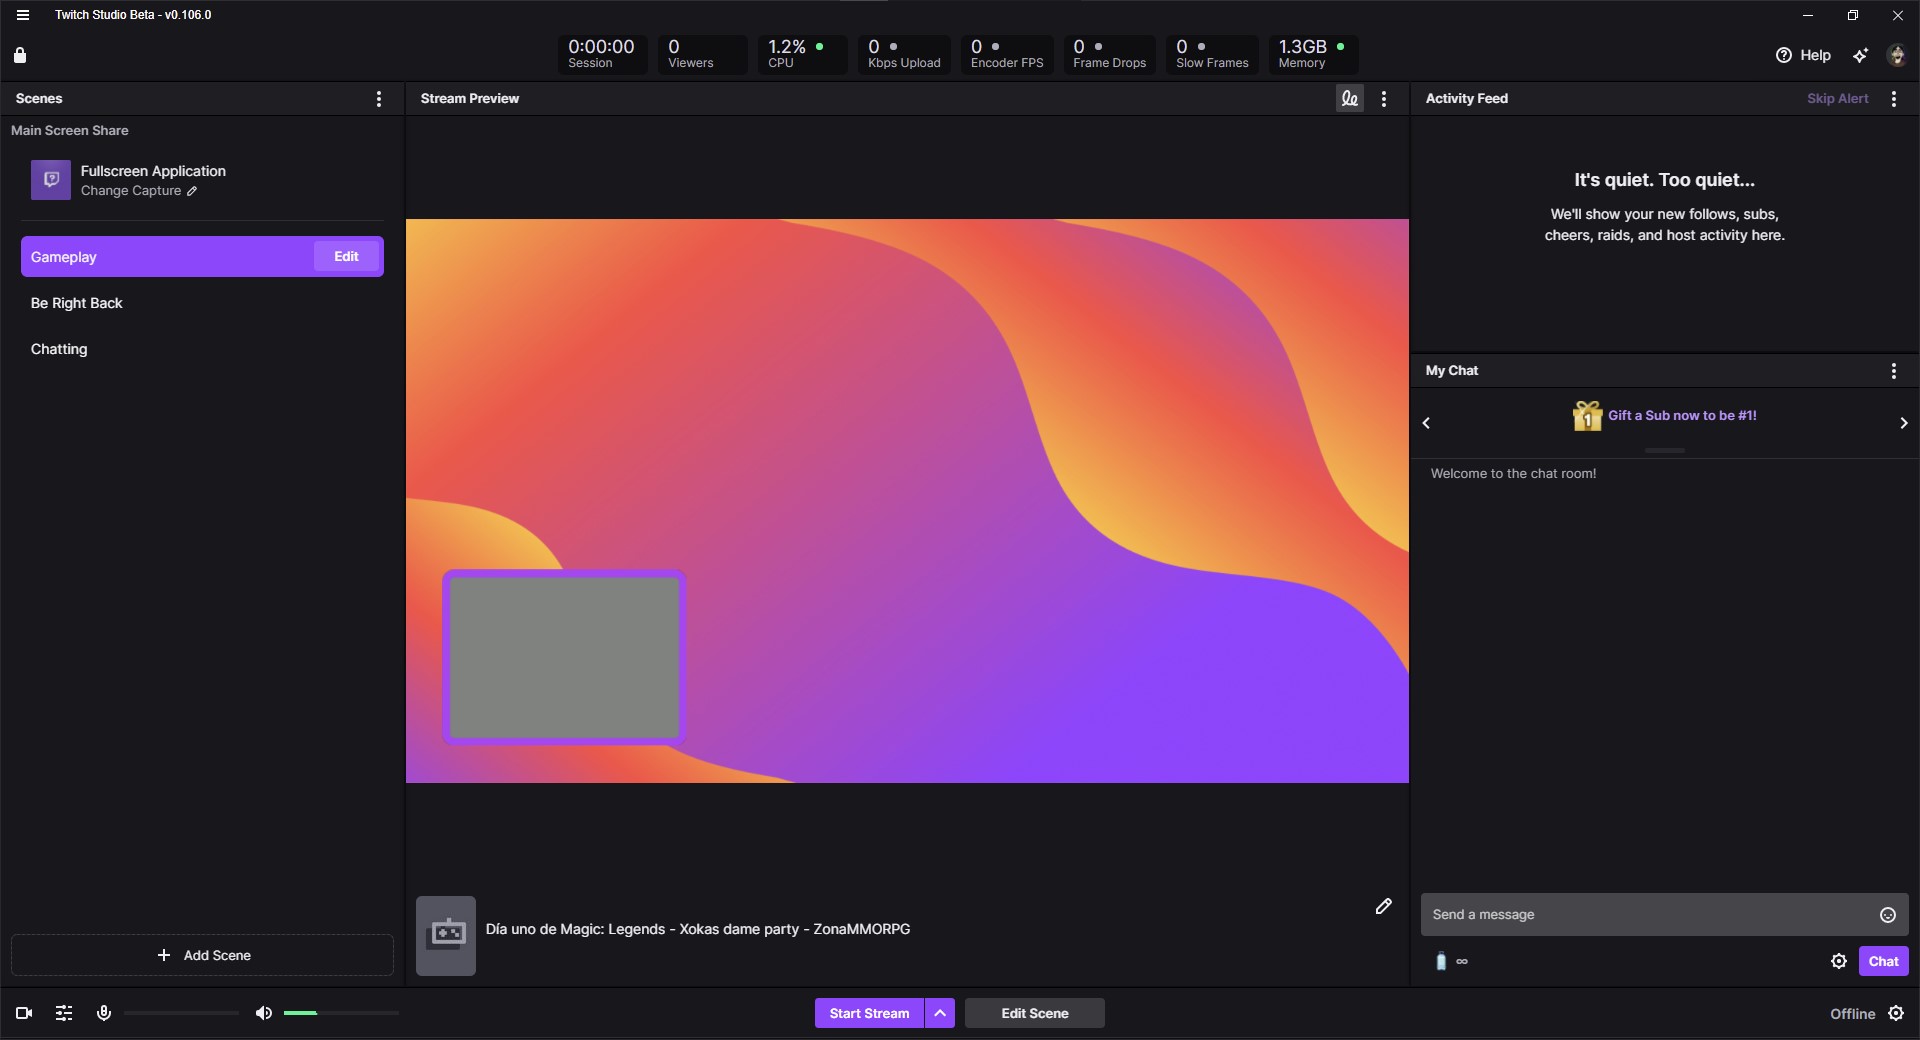
Twitch Studio, Twitch's in-house streaming tool, is a free program that you can download here. With Twitch Studio, you can start your stream and broadcast it to Twitch. Like most streaming programs, Twitch Studio gives you the option to fade in your webcam's image and move it around. However, before you start with our big step-by-step guide, you should download and install the program. In addition, it is of course a basic requirement that you have a webcam and that it is properly connected and installed. This is the only way to ensure a smooth Twitch Studio webcam setup.
In the meantime, any modern webcam is supported by Twitch Studio and can be inserted into your stream. However, if there are any compatibility issues, we advise you to check the connection of the webcam and make sure that the drivers of the camera are up to date. Once all the precautions are taken, you can launch the program and set up your Twitch Studio webcam.
3 Twitch Studio webcam setup - The step-by-step guide
After you have downloaded and installed Twitch Studio, you can open the program, set your personal preferences, connect the program to your Twitch account and start the Twitch Studio Webcam Setup. Since the program already has some key scenes set up out of the box to help newbies get started, setting up the webcam is a breeze.
- Open Twitch Studio.
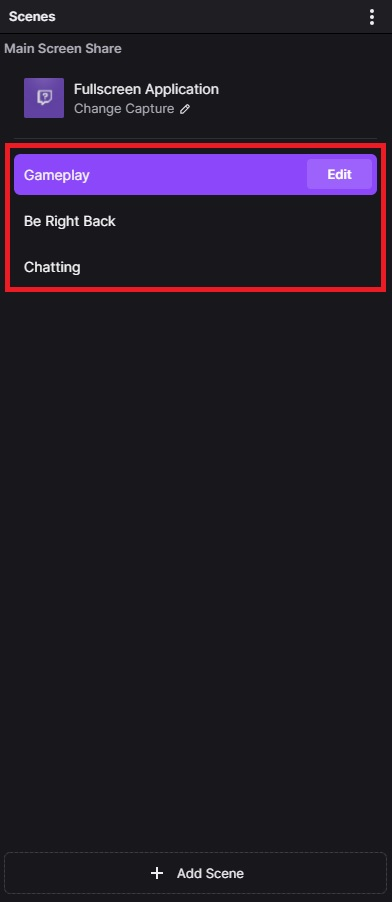
- On the left side of the program interface, you will now find the list of preset scenes.
- Since you probably want to include your webcam in your gameplay scene first, click on the "Edit" button next to the "Gameplay" label.
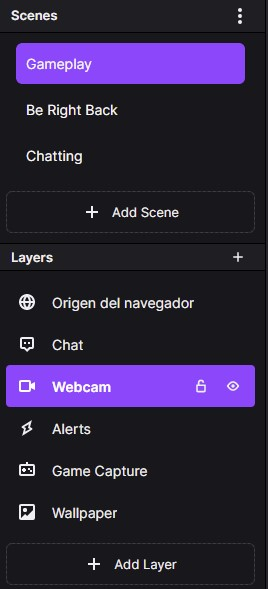
- Now the corresponding sources that belong to the scene will open. This includes the webcam.
- Click on "Webcam" under "Layers".
- Now the webcam menu opens again on the right side of the program.
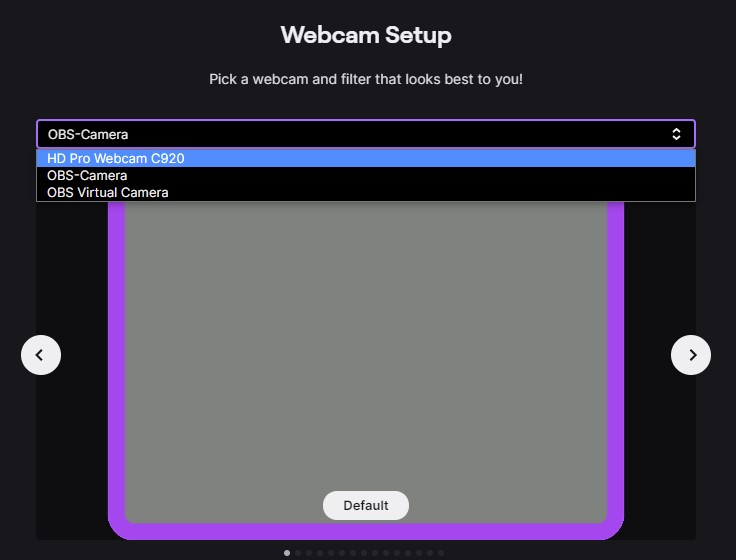
- The preview will probably be marked with "No webcam found". Therefore click on "Change".

- In the drop-down menu you can select the connected webcam.
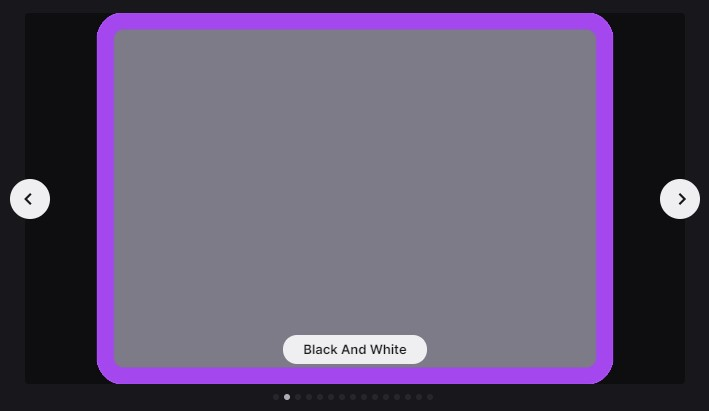
- With the arrows next to the preview image you have the additional possibility to adjust the image of your webcam with different preset filters. Select the filter you want and then click "Done".
- Now you will see the image of your webcam set up in the large preview screen located in the center of the program.
- To adjust both the size and the positioning of the facecam, you can drag the field of one of the facecams smaller and larger with the mouse and move it to the desired area with the left mouse button pressed.
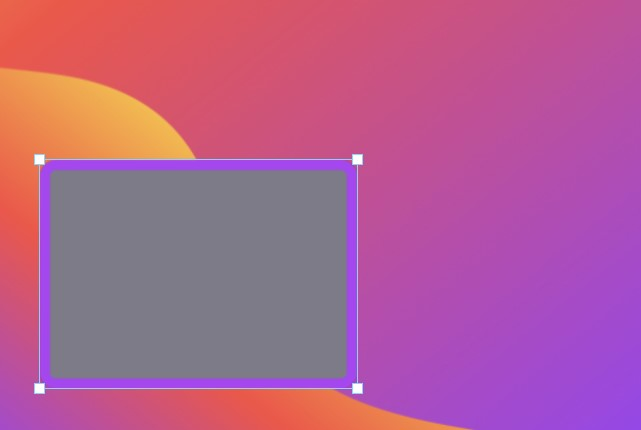
- Done - your webcam has been successfully set up.
4 Twitch Studio webcam setup - The settings
Once you have set up the webcam and selected the webcam source, you will see the settings screen on the right side of the program. Here you can make some more fine adjustments and improve the result. What the additional settings are all about is explained in this chapter.
4.1 Size and Position
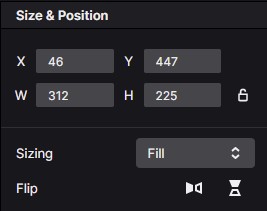
Besides the possibility to change the size of the shown webcam image in the preview of the scene with the mouse, you can set exact sizes in this menu. So if you want to show your webcam in a certain size, you can do that here. You can also set the flip and rotate as well as the type of stretching here.
4.2 Devices
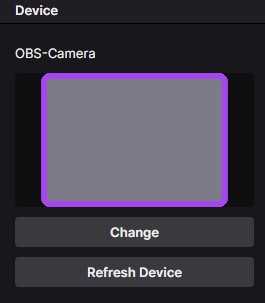
Here you can see the device options. Actually, once you have set up your webcam, this menu is not very important. However, if you want to change the filter or add another webcam for other scenes, you will have to go back to the Device menu.
4.3 Device Options
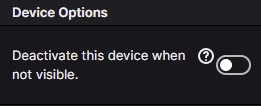
This option is important if you are working with multiple scenes. Because if you change the scene and the option "Disable this device when hidden" is disabled, the webcam image will not be displayed in the new scene. So if you are surprised that this is the case, be sure to enable this option.
4.4 Recording format
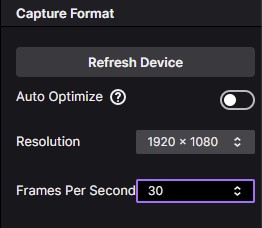
Here, after installing Twitch Studio, "Auto-Optimization" is automatically enabled. However, this can lead to problems if Twitch Studio chooses the automatic settings in such a way that the quality of your webcam is significantly worse than the supported resolution of the device. For example, if you have a Full HD webcam and only the HD resolution is enabled here, the image of your webcam will have a significantly worse image quality. It is therefore essential to deactivate this option and set the best possible format.
4.5 Debugging

Because Twitch Studio is still in a beta phase, you can use the debug tool to report certain problems and forward them directly to Twitch.
4.6 Edit frames & borders

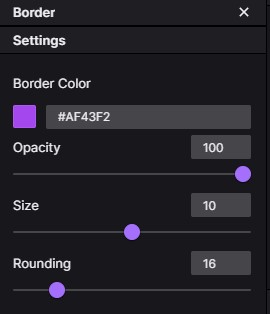
Decorate your webcam window with a nice frame and customize it. You can set the color as well as the frame width and the rounding of the corners. If you click on the "Edit Frame" button, an additional menu will open where you can make these settings.
4.7 Image options
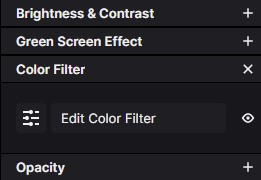
In case you want to change the image of your webcam by yourself instead of using filters, you can do this with the different image options. Here you can set the brightness, contrast, color filter and opacity value. You can also add a green screen effect to the image. The individual options can be activated by clicking on the plus symbol next to the name.
5 Conclusion
Of course, there are still streamers here and there who don't use a webcam during live streaming, but the number of those who don't show themselves is vanishingly small in proportion. Considering this development, Twitch Studio of course offers the possibility to add one or even more webcams to the streaming image and additionally customize it. With reasonably modern webcams, it is usually the case that they are automatically detected by Twitch Studio, so you can easily add and adjust them to fit. For additional professionalism, you can activate a green screen, for example, which is also no problem with Twitch Studio.

