


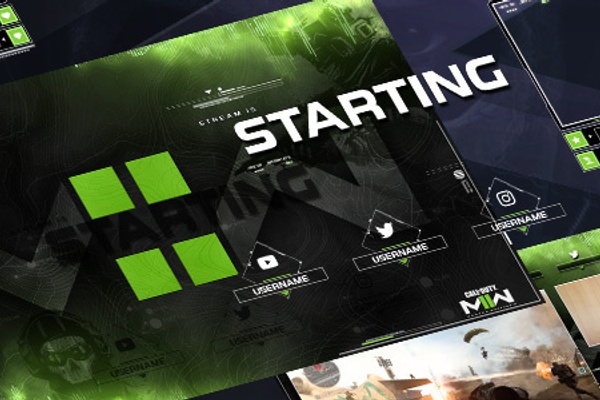
Exclusive overlays in OWN3D Pro
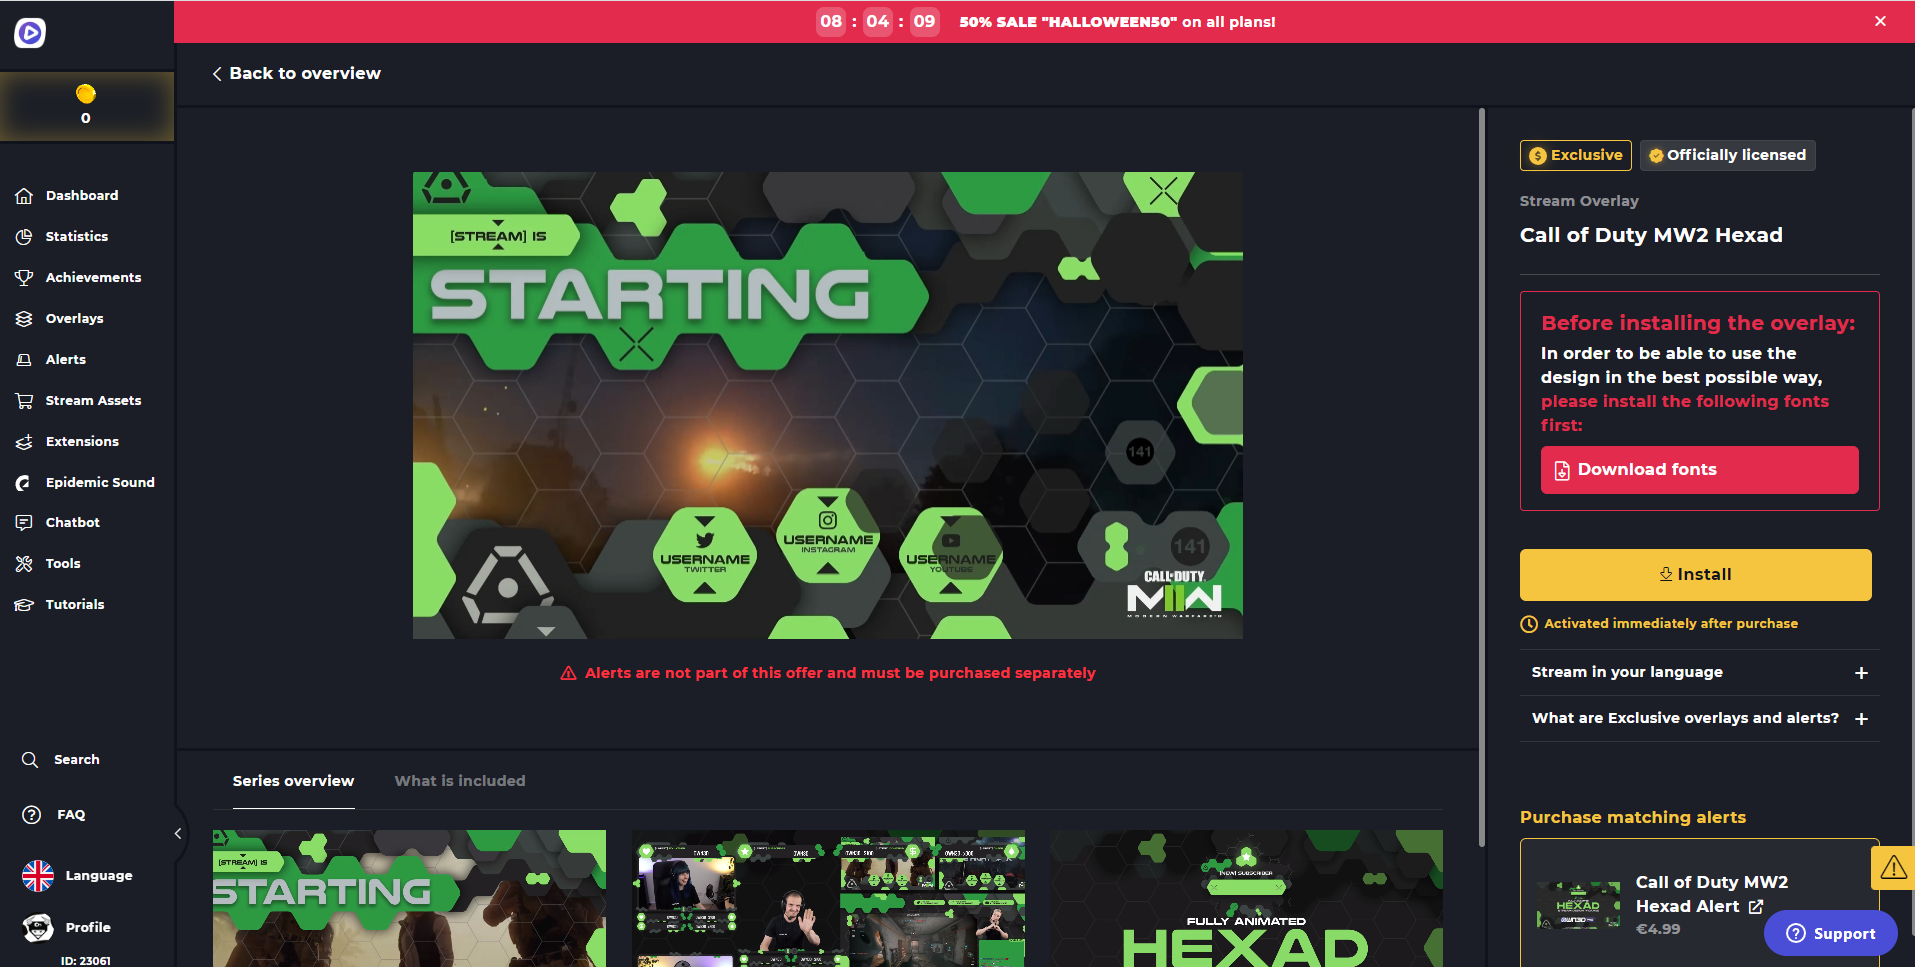
The Call of Duty: Modern Warfare 2 overlays are marked as Exclusive. They can be purchased using a one-time payment within OWN3D Pro, permanently unlocked in your plugin, and connected to your account. OWN3D Pro subscribers benefit from reduced prices. If you want to know how the Exclusive designs work visit the OWN3D Pro FAQ
How to install your Call of Duty: Modern Warfare 2 overlays and alerts in OWN3D Pro
If you purchased one of the Call of Duty: Modern Warfare 2 overlays at www.own3d.pro the next step is to install them within OBS. Here is how:
1. Download the FONT of your overlay package right after purchase
2. Go to your Downloads and open up the Font folder you just downloaded
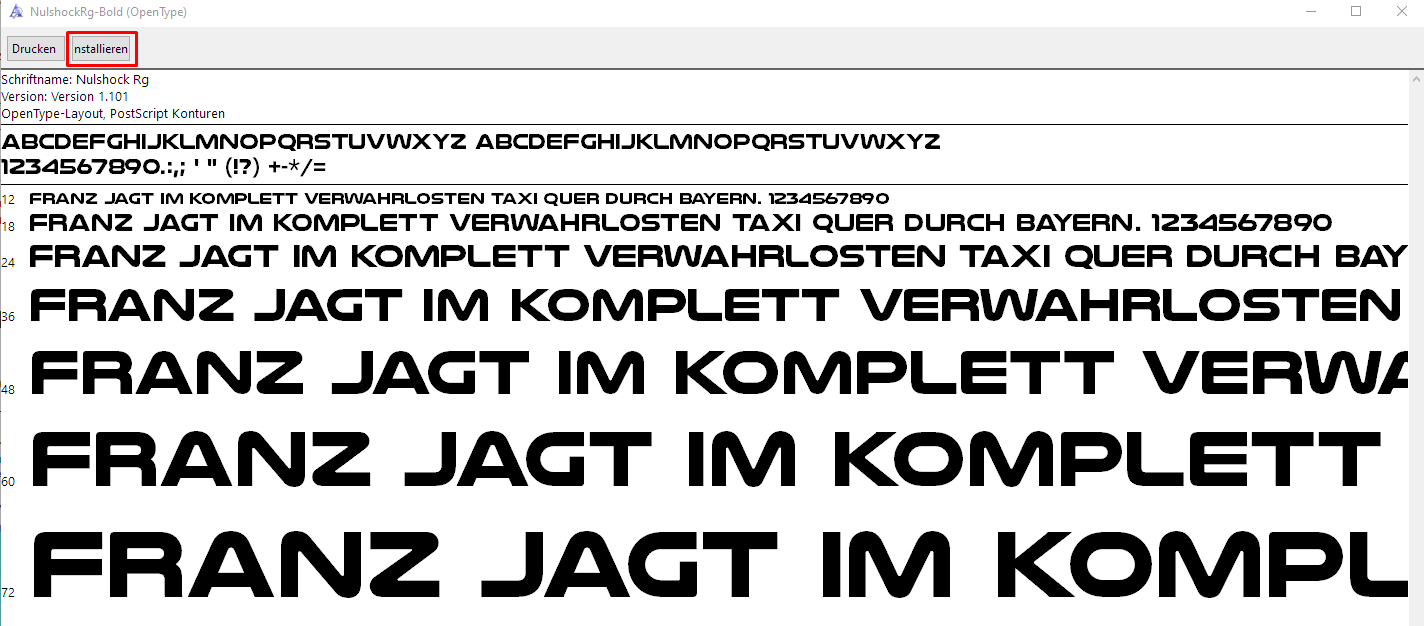
3. Open the font installation file with the bd.ttf ending by double-clicking on it

4. Click on “Install” at the top
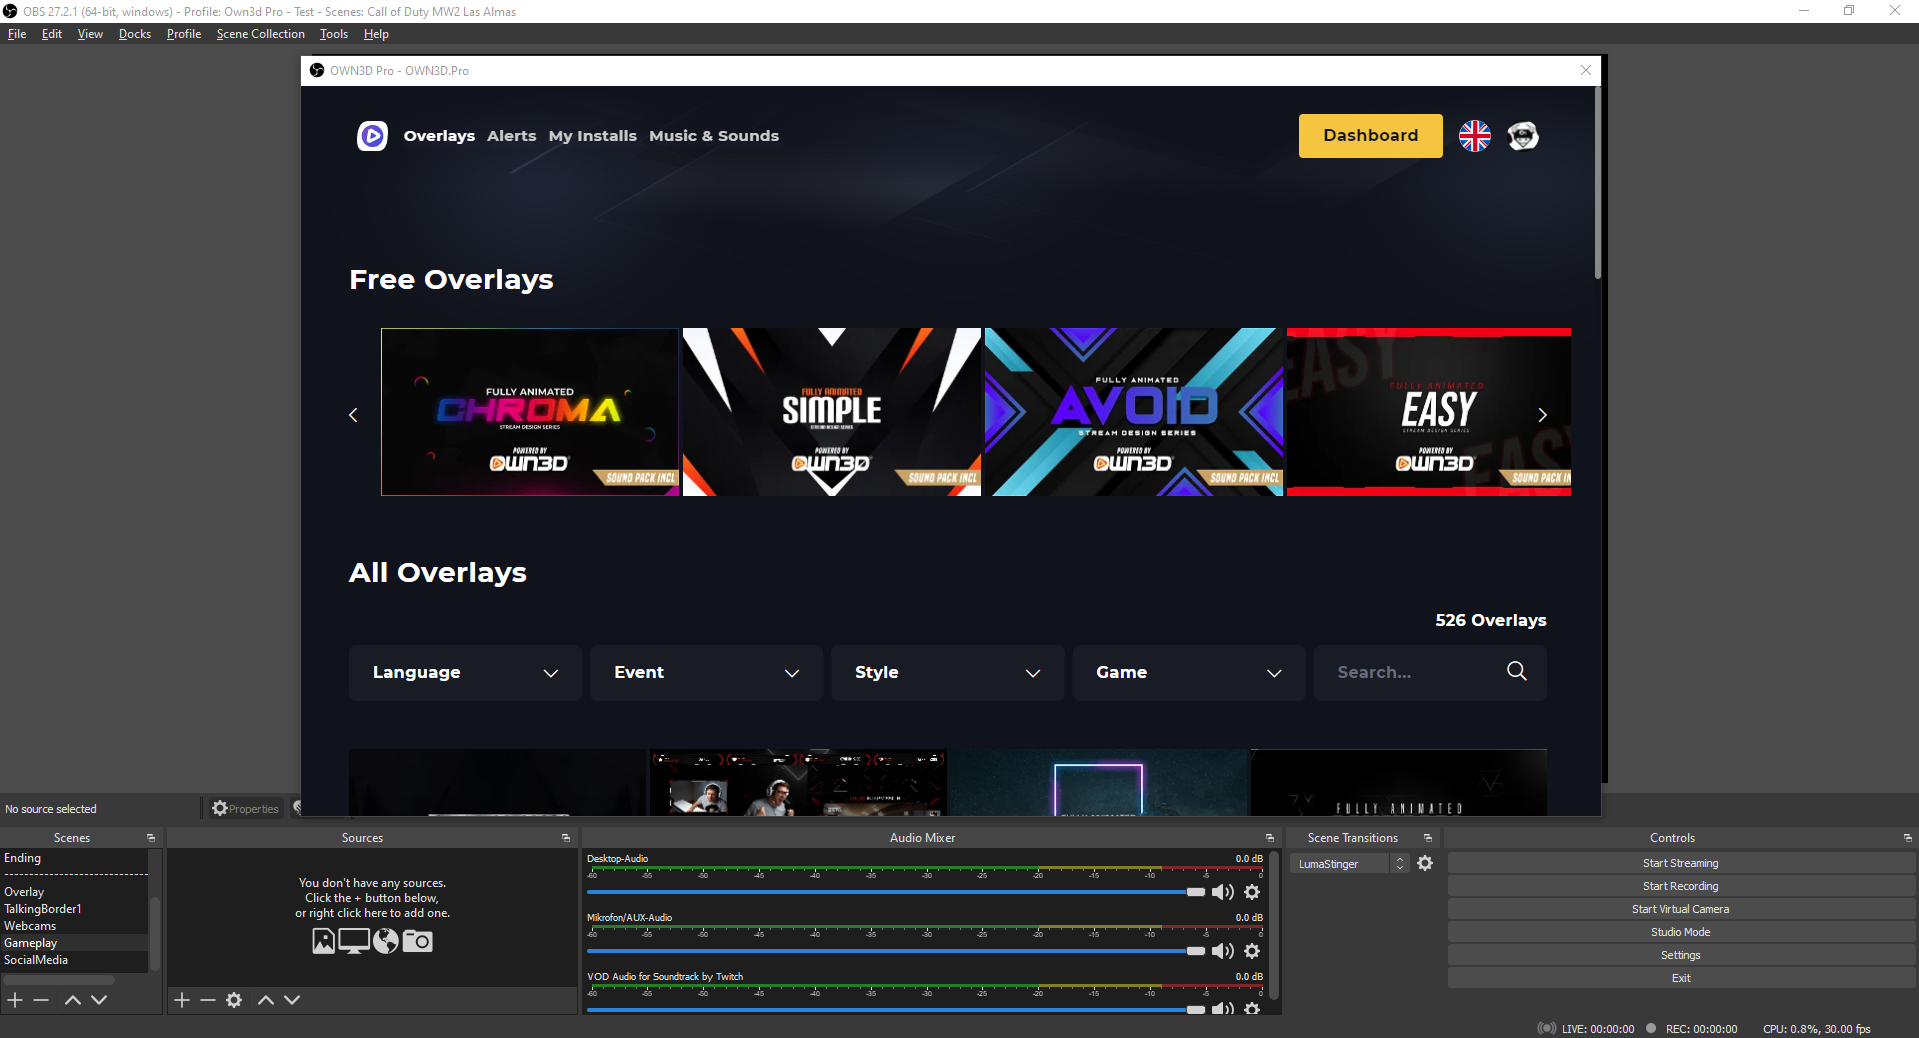
5. Open OBS (OR restart it after installing your new Font!) and the OWN3D Pro tool
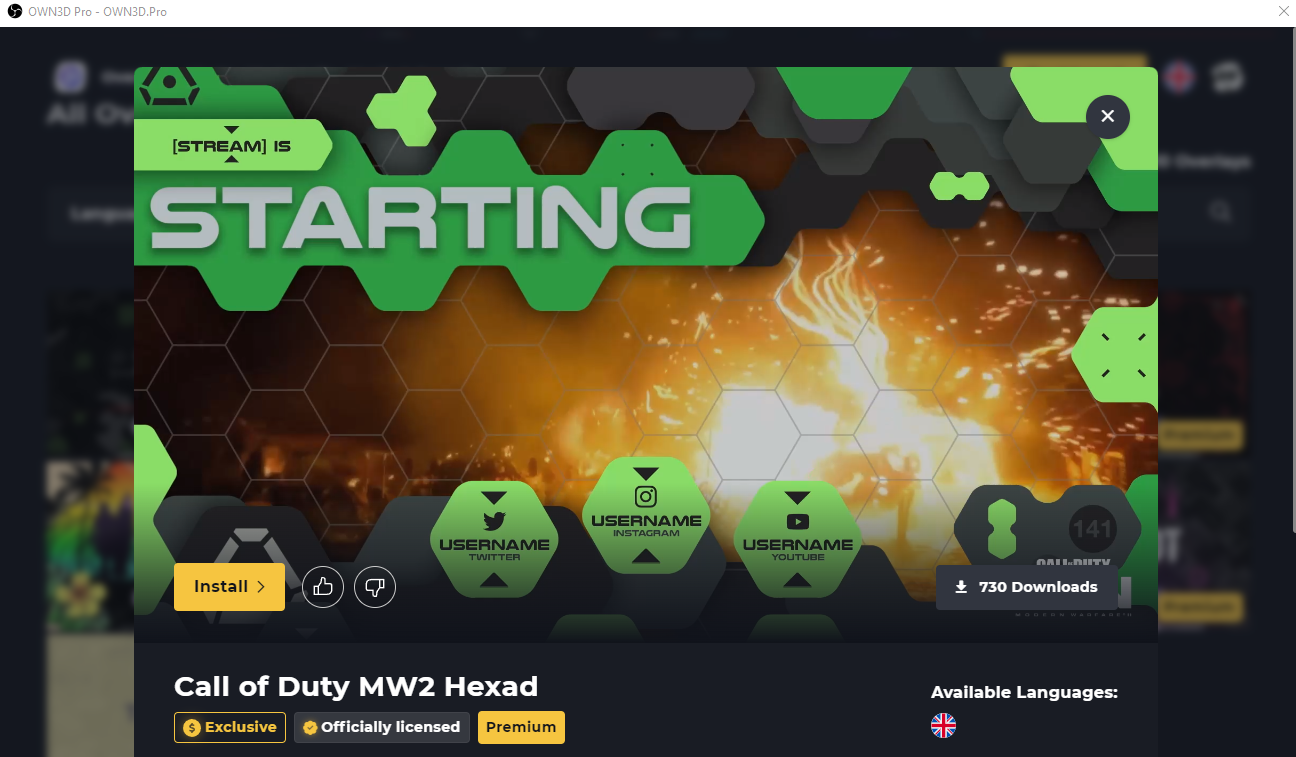
6. Enter "call" in the search bar to see all the Call of Duty overlays, or enter the name of your package; in this example we will go with "Hexad"
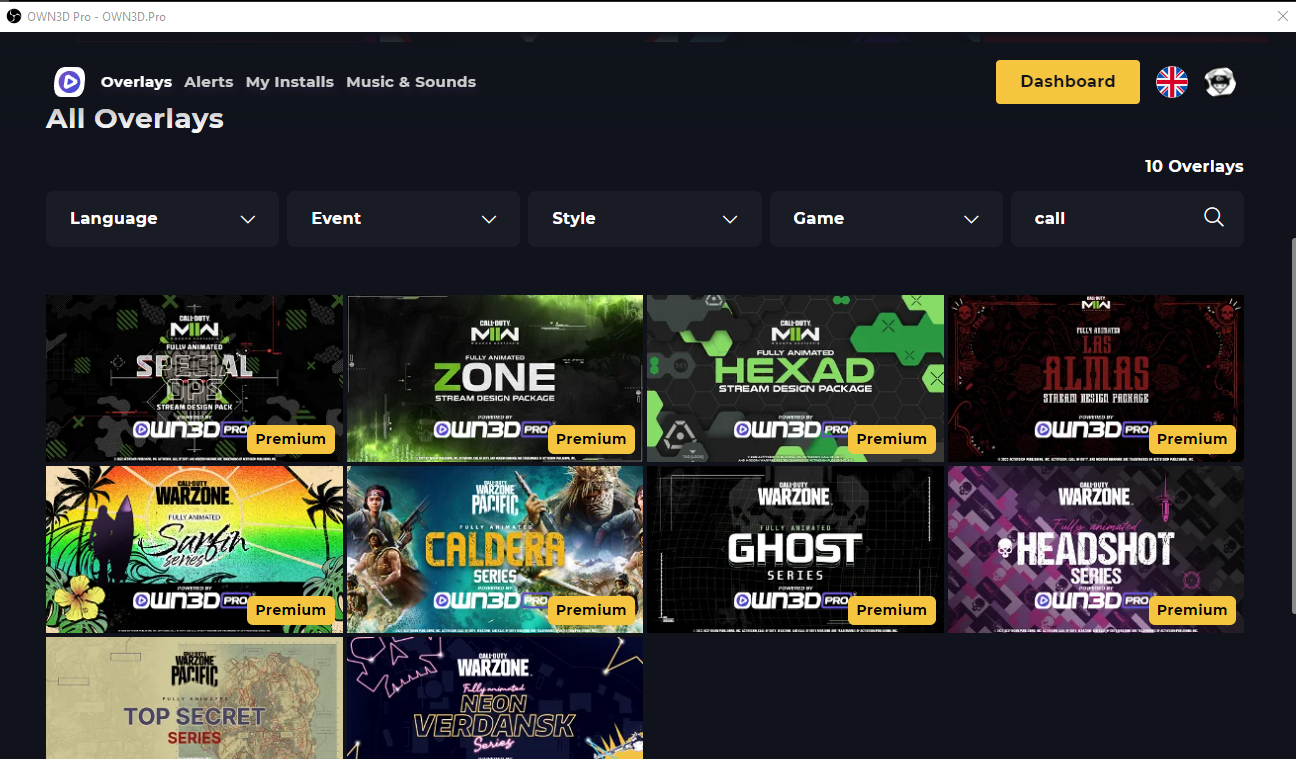
7. Open the overlay you purchased and click on the "Install" button
8. Wait a couple of seconds, and your overlays are ready!

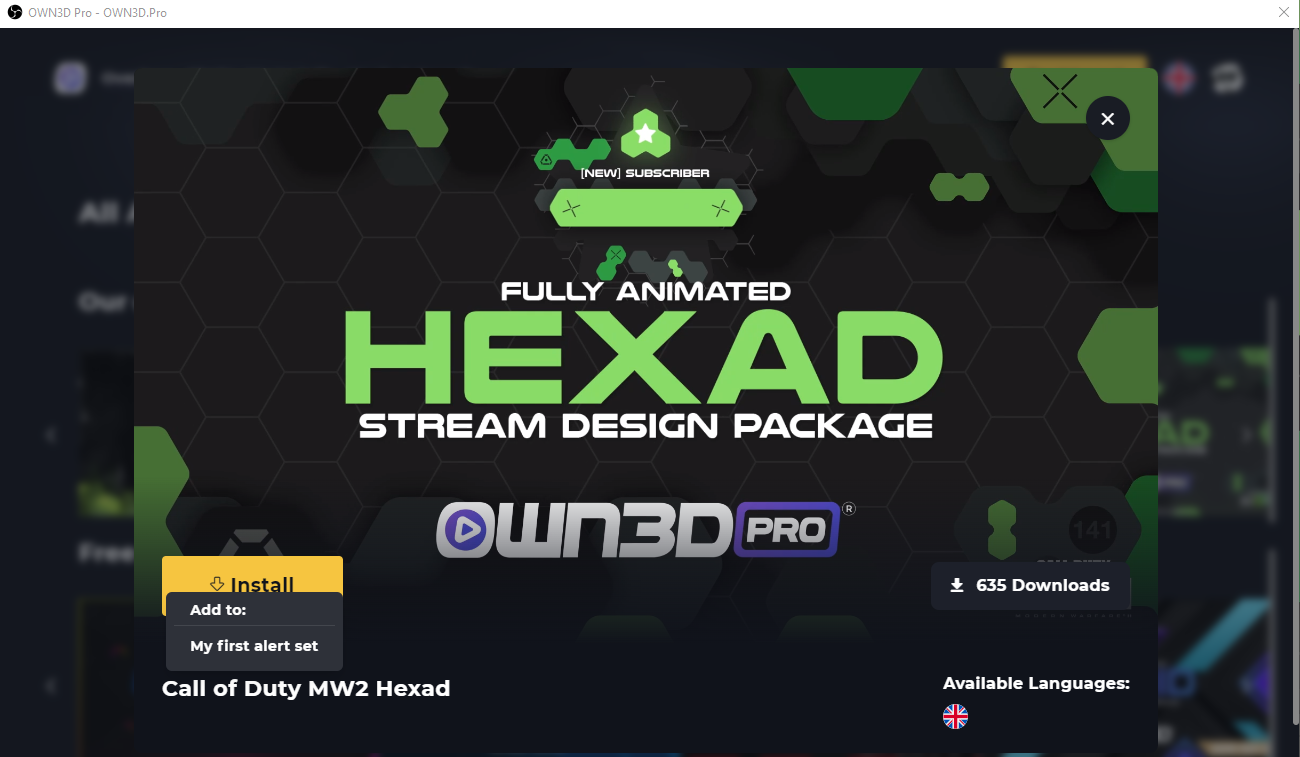
9. Repeat this process if you purchased alerts

10. Click on "Install" and choose the alert set; your alerts are ready!
What our modular packages look like and how they work
When installing one of our modular Call of Duty overlay packages, you will find all your scenes ready and set up on the bottom left in your scenes tab. The scenes above the dotted line are ready to use and contain information such as texts, usernames, and labels from the modular scenes below the dotted line.
These scenes are ready to go and set up with your alert box, labels, panels, and everything else you need to go live. You must go below the dotted line if you want to change the texts or layouts for your active scenes.
IMPORTANT - Changes in your modular scenes below the dotted line will affect your live overlays, so please edit cautiously.
How to change the username for your Social Media
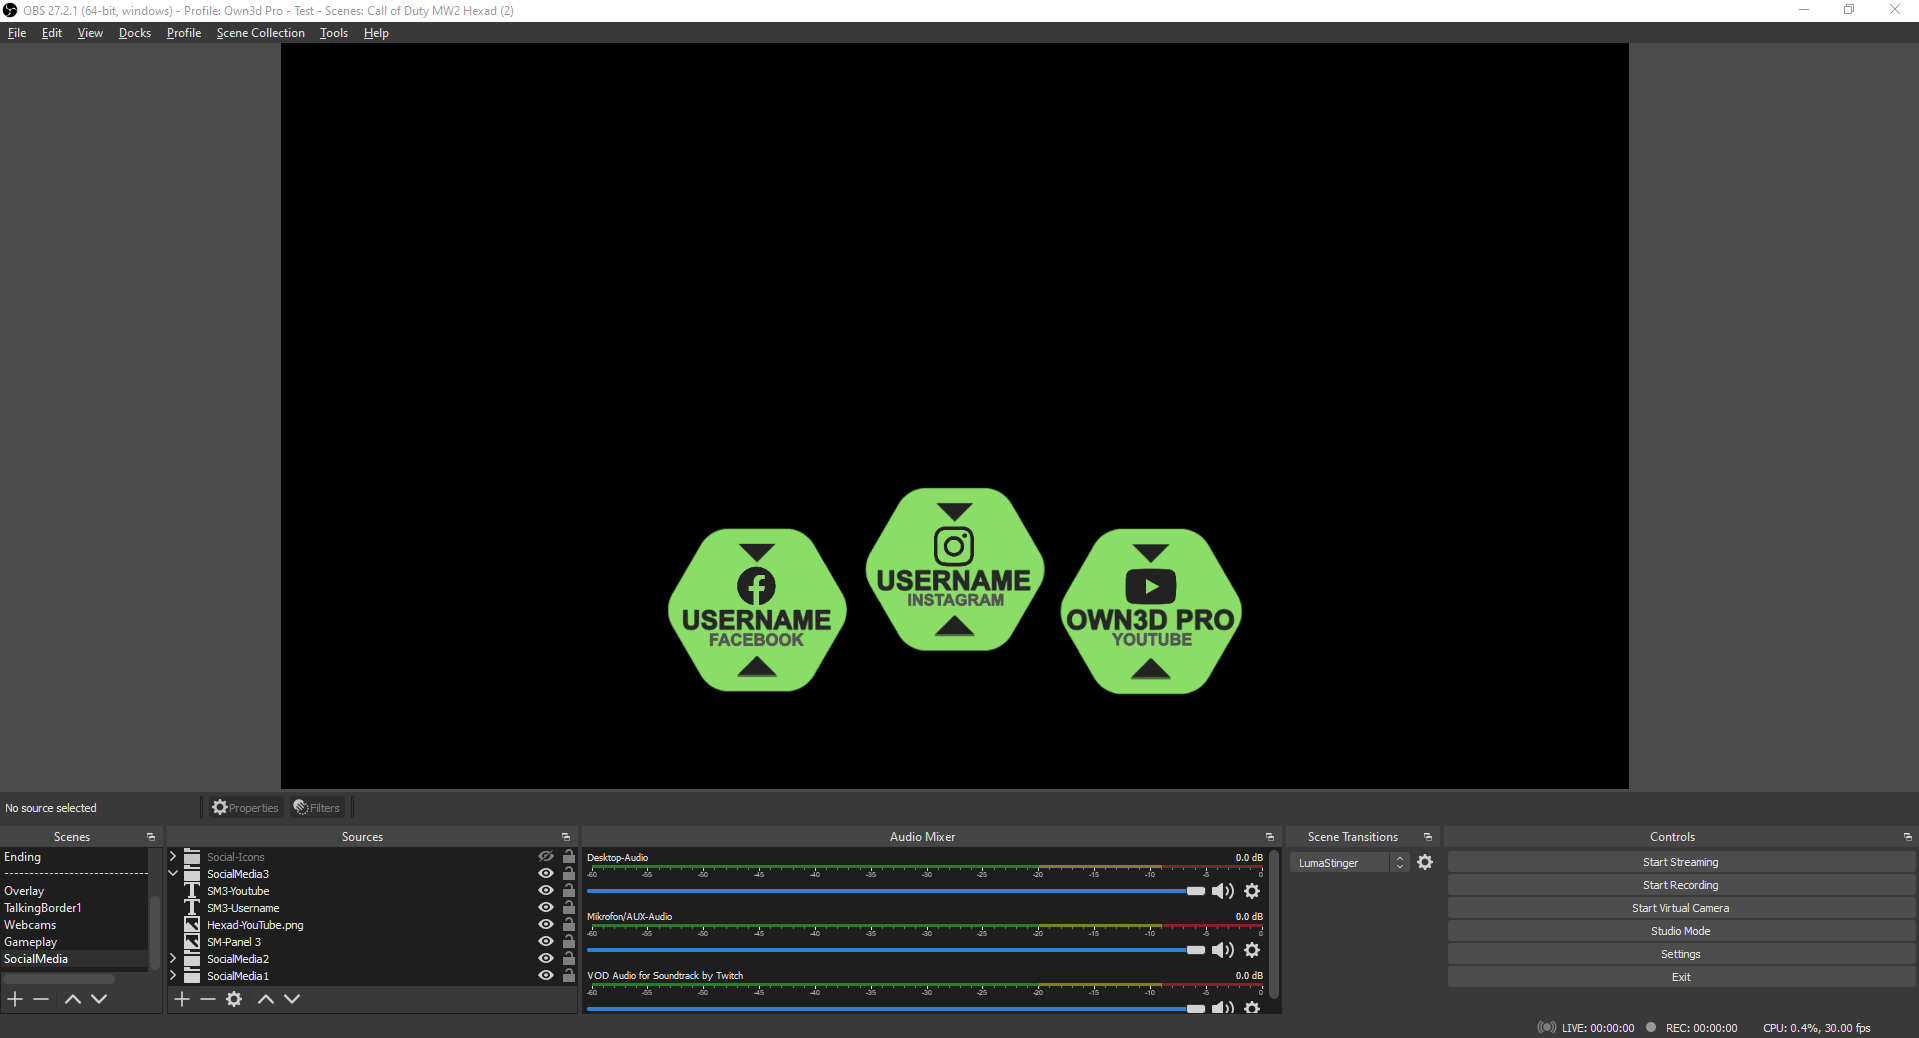
If you want to change the username to your creator name, go into your scenes and scroll down to the Social Media Scene
You should find a similar scene within your overlays

If you want to change the username, all you need to do is go into your sources in the Social Media scene that's already open
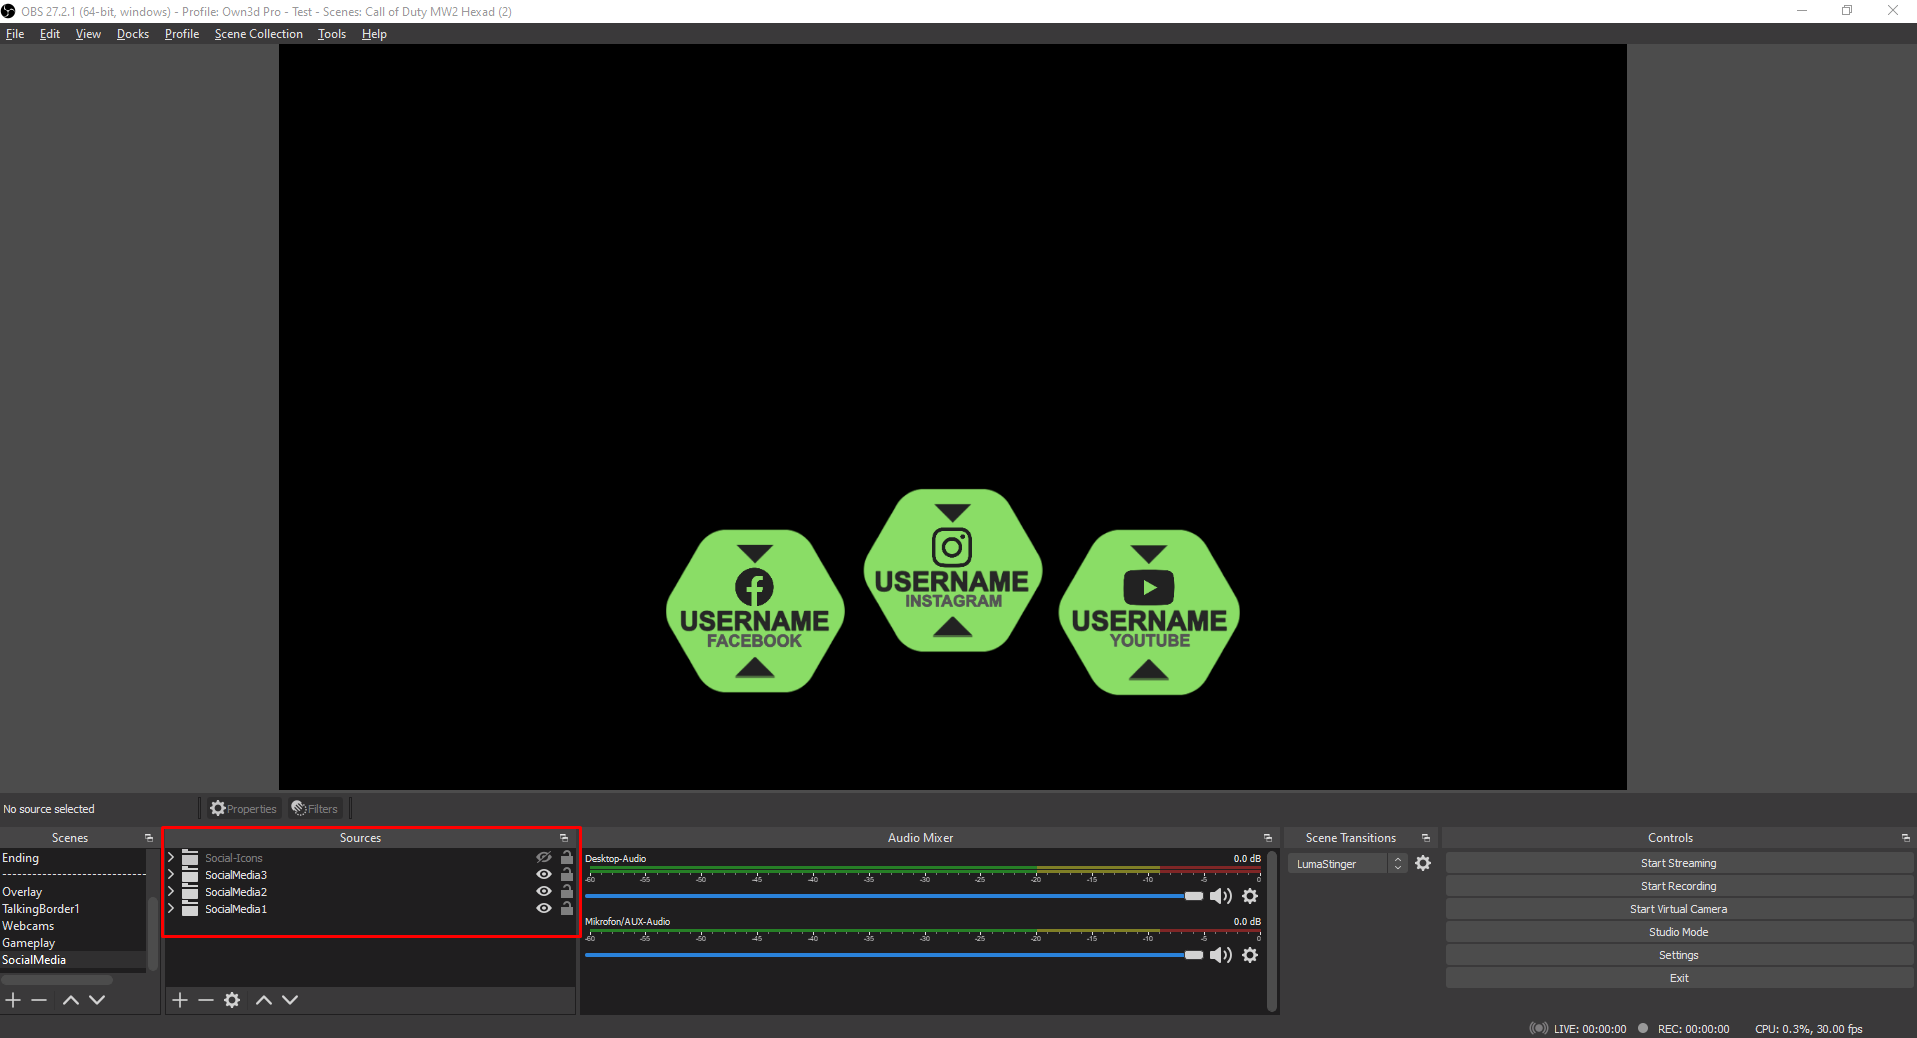
Click on the little arrow to open up the group of the social media source you want to change
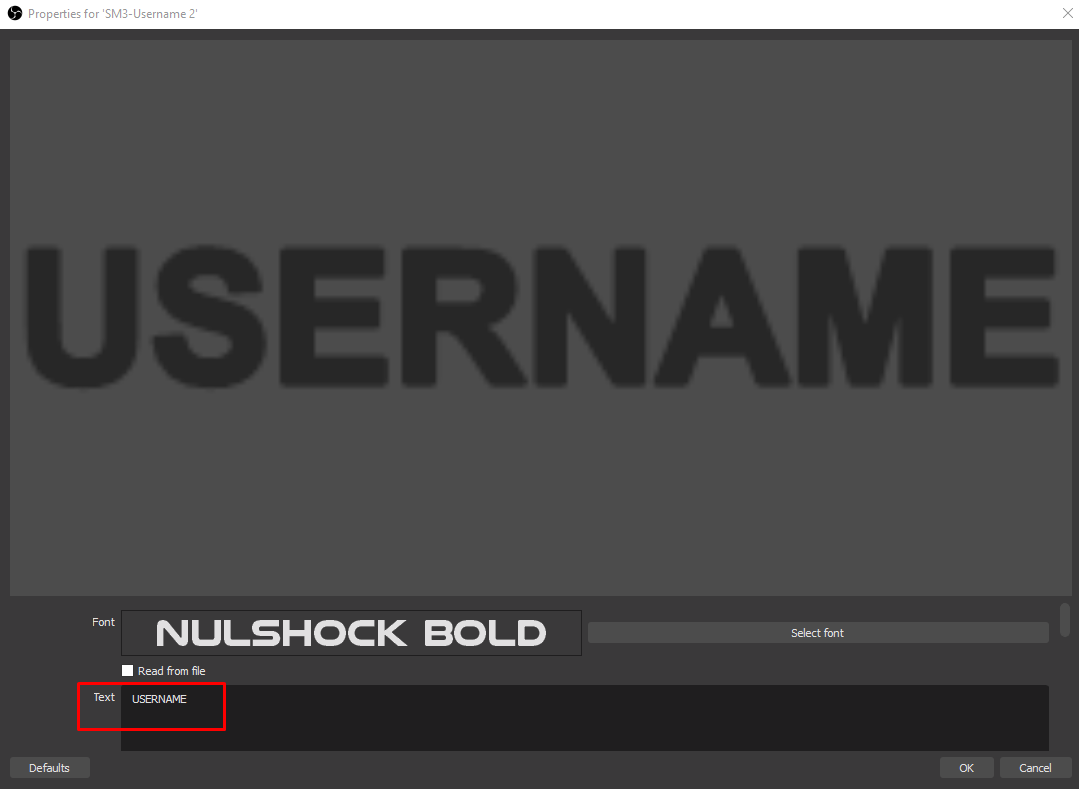
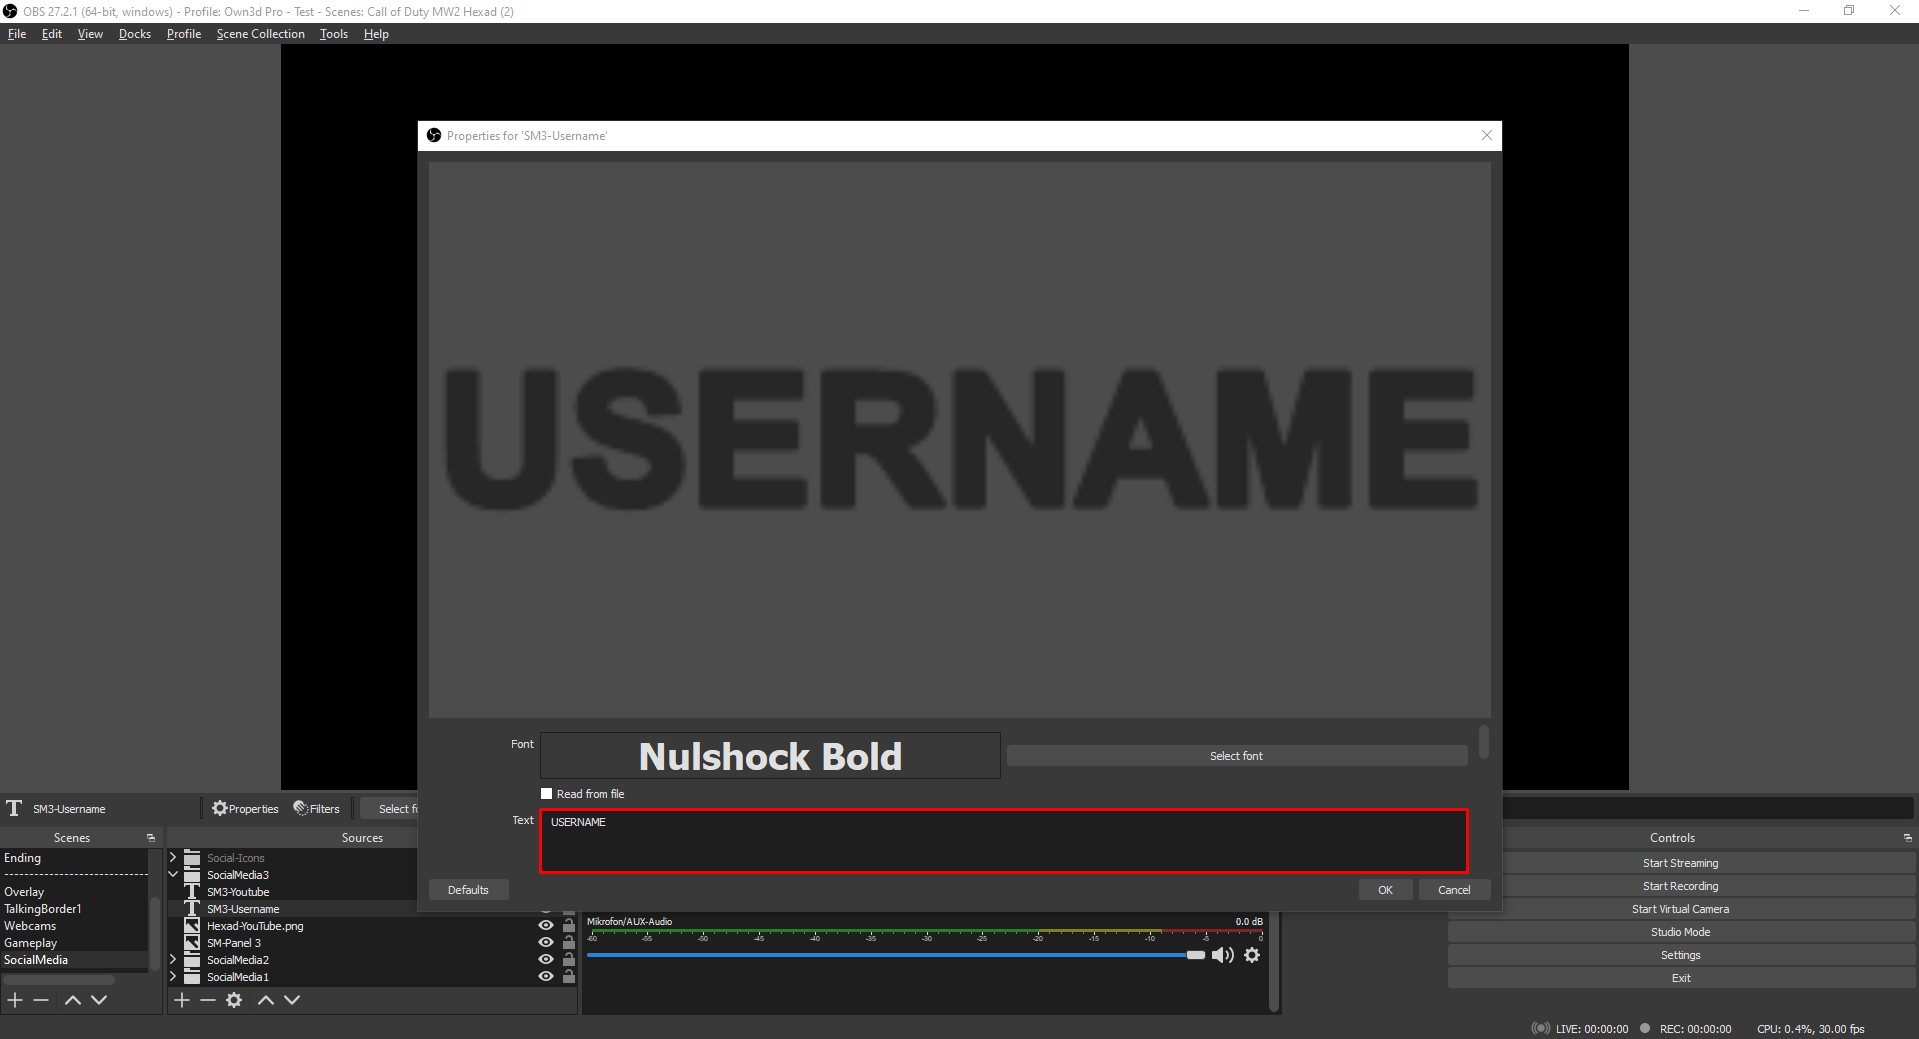
Double-click on the "username" source to open the text file and change your username
If your name is too long and doesn't match the overlay, you can easily reposition it
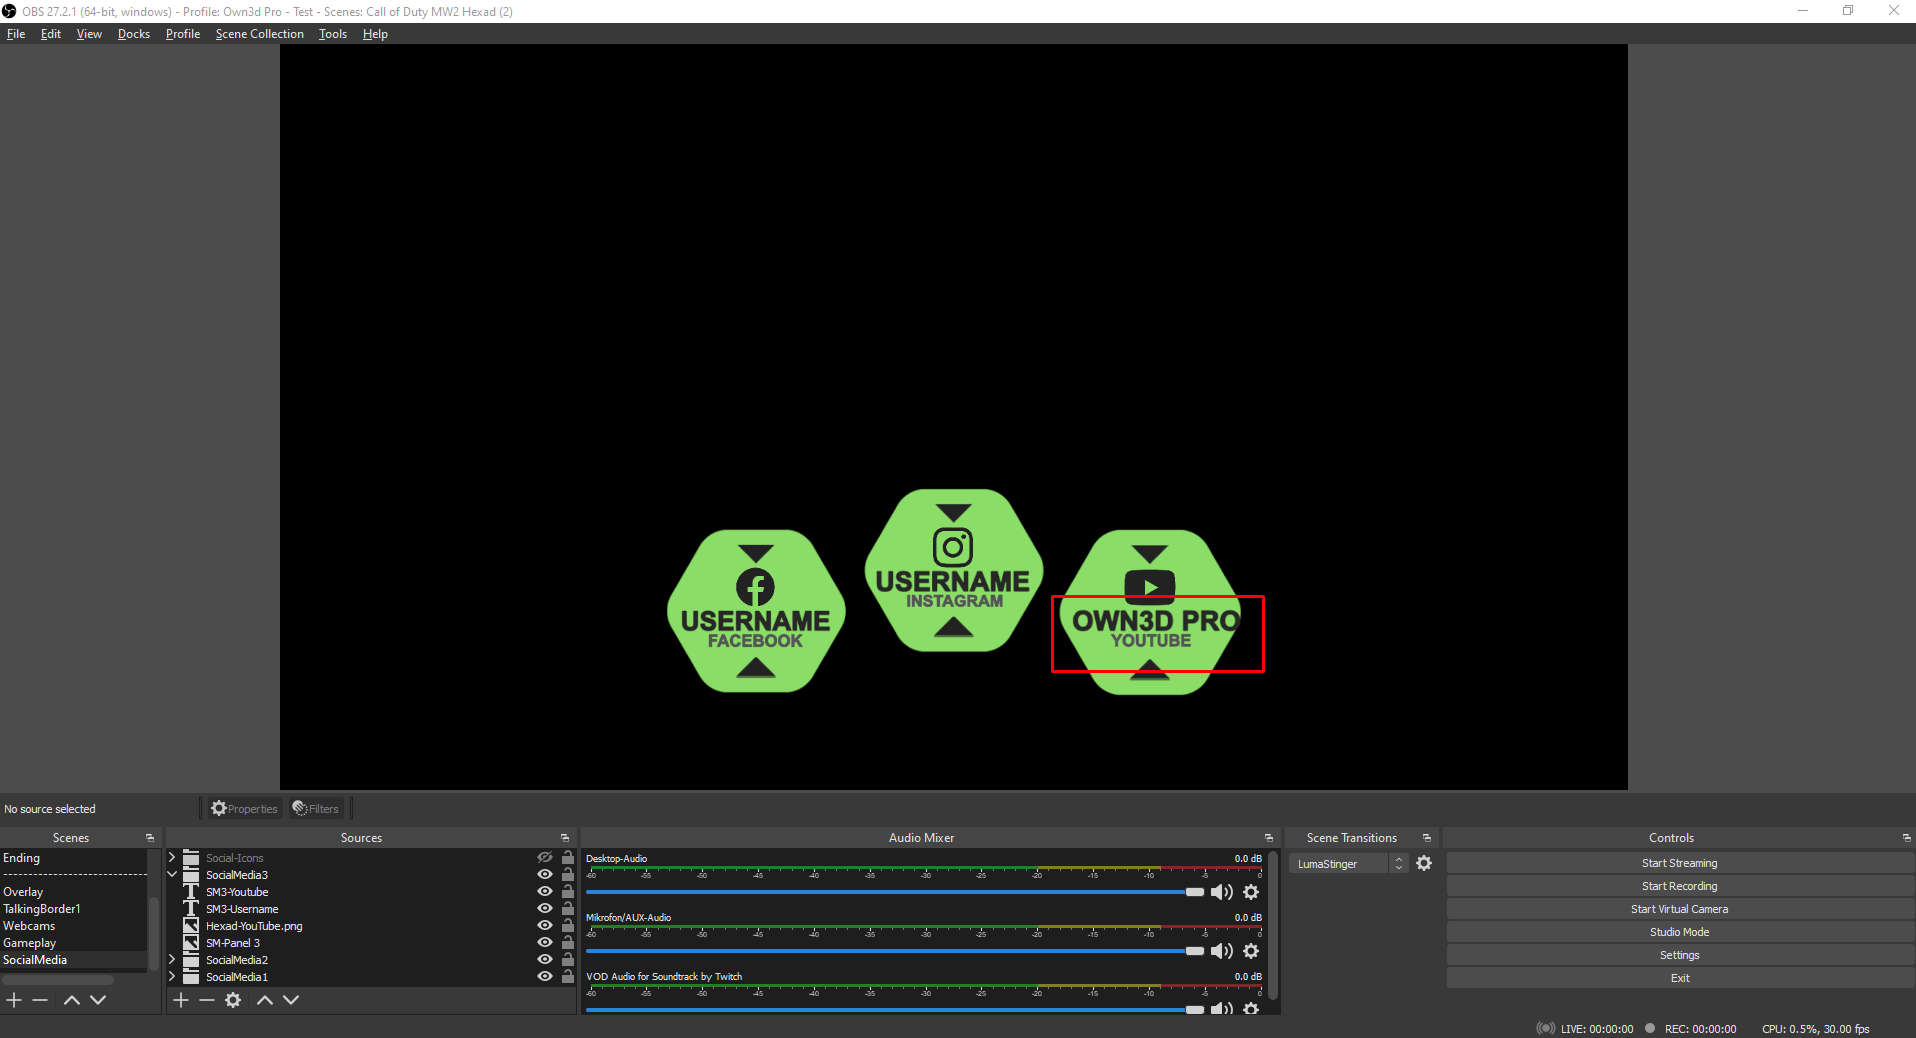
Go to the sources tab and select the username

Now that you have selected the username, you will see a red border around your media source which you can now move freely and reposition it
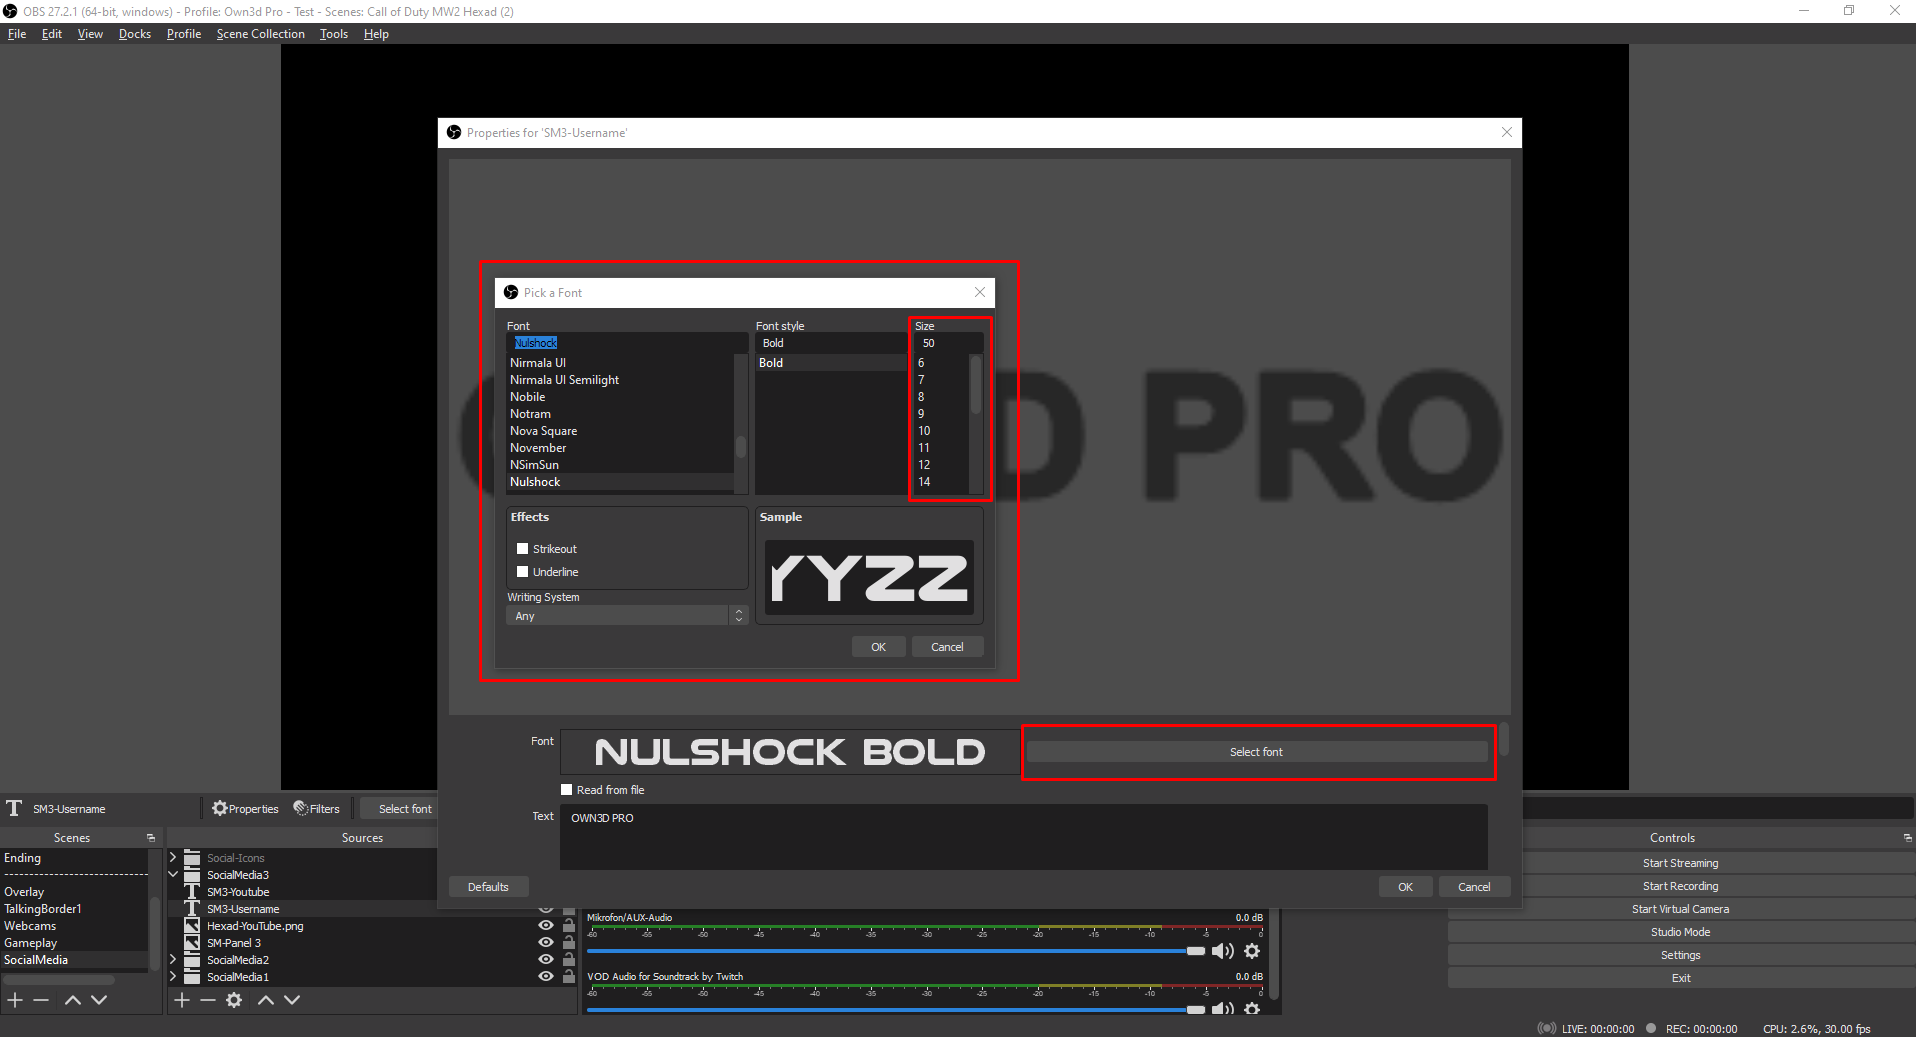
If your name is too short or too long, you can try to change the font size; you can do so by double-clicking "username" in your sources as we did before and then clicking "Select Font"
Once you're done setting up, you can change all these settings in the other panels the same way, and it will update automatically for all the scenes we created!
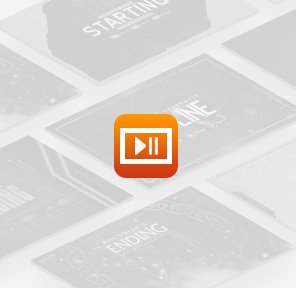
How to adapt your Starting, Pause and Ending scenes
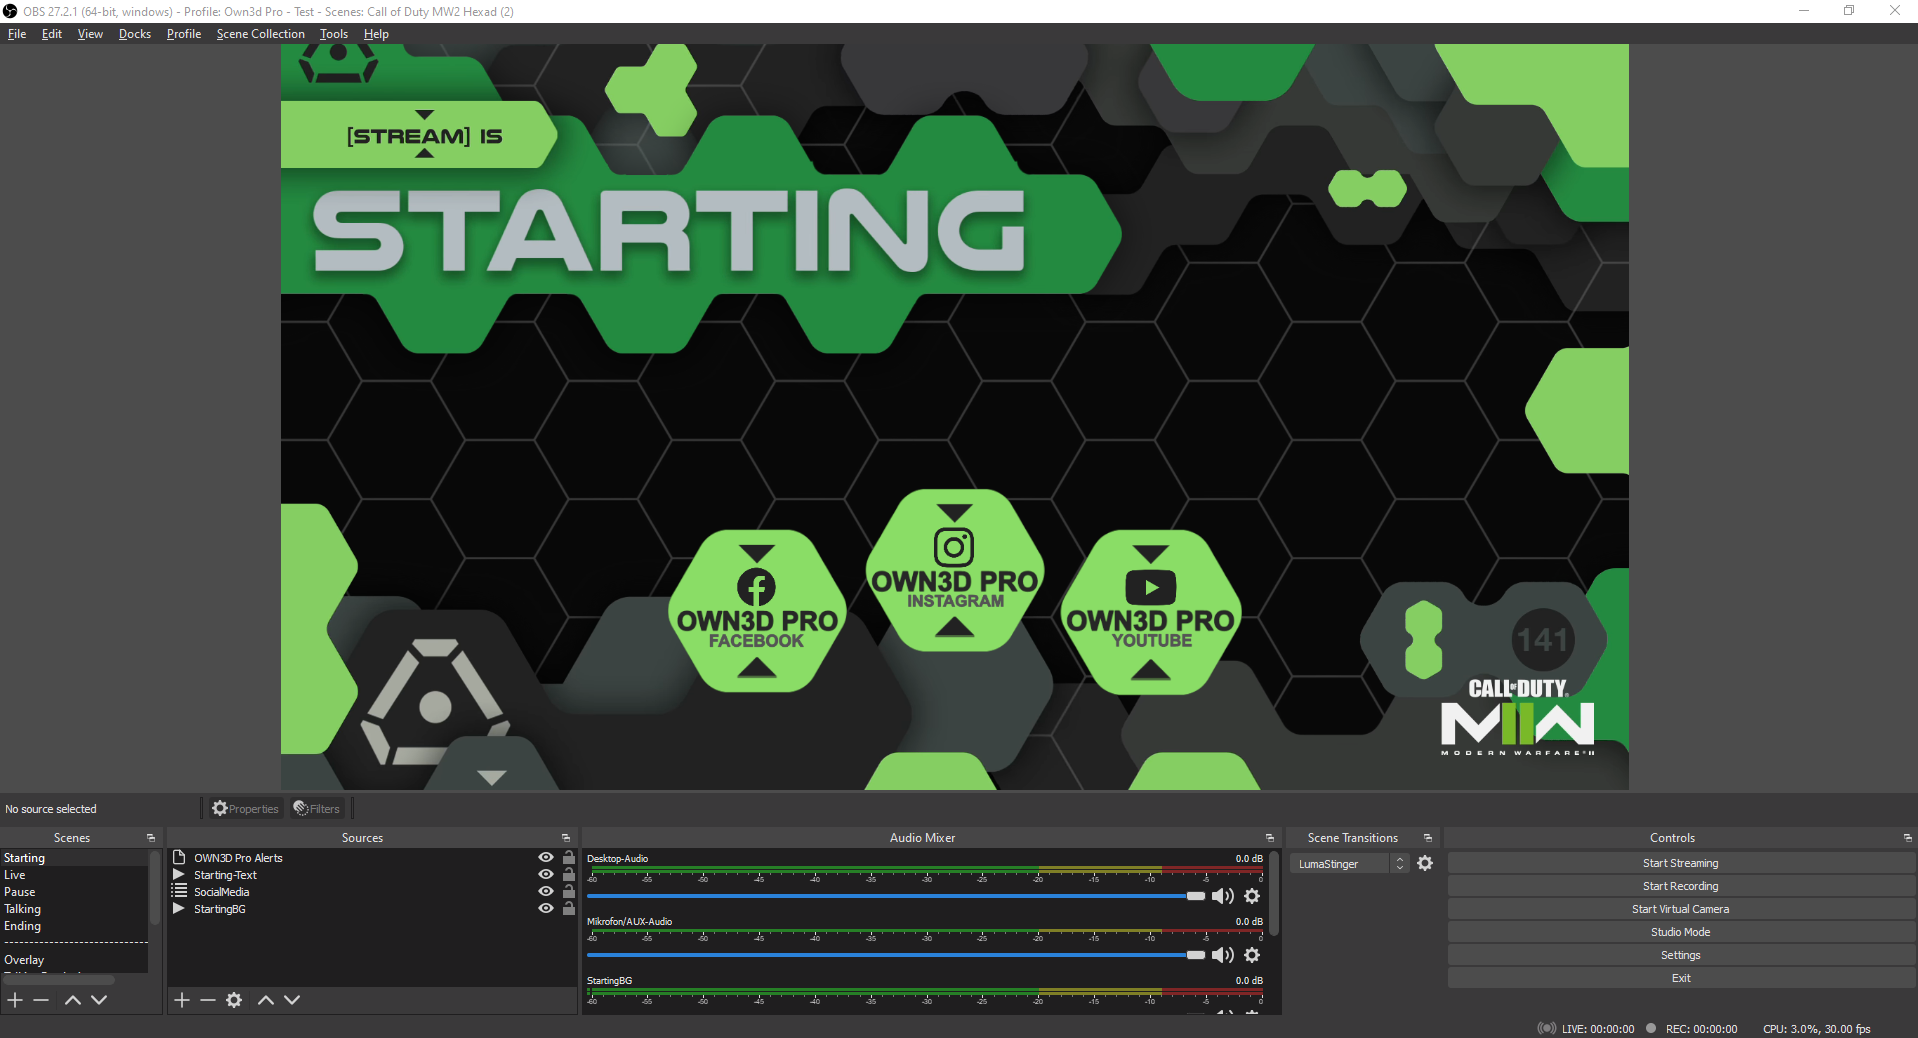
If you want to edit your Starting, Pause and Ending scenes and change the position or the layout, you can do so by switching to the scene you want to change

In your scene, you will find your sources
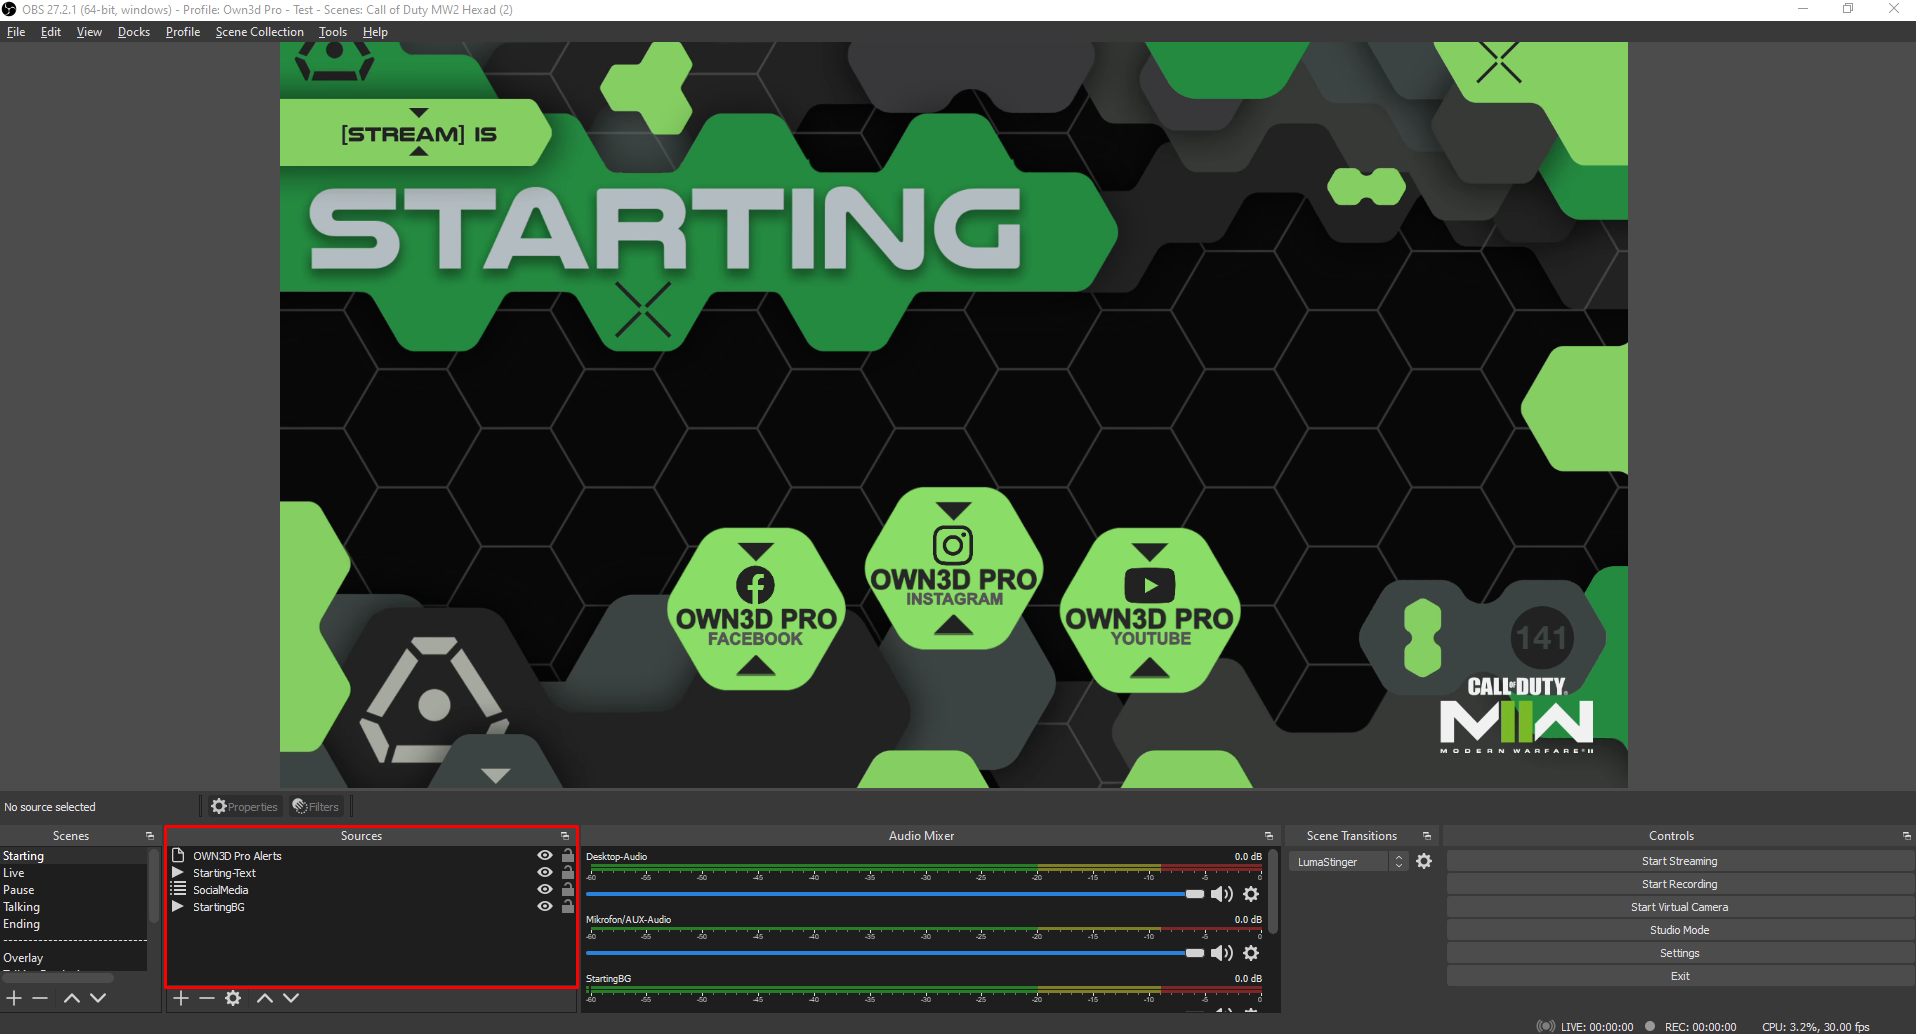
To disable one of the elements in your scene, click on the eye symbol next to the source to disable it
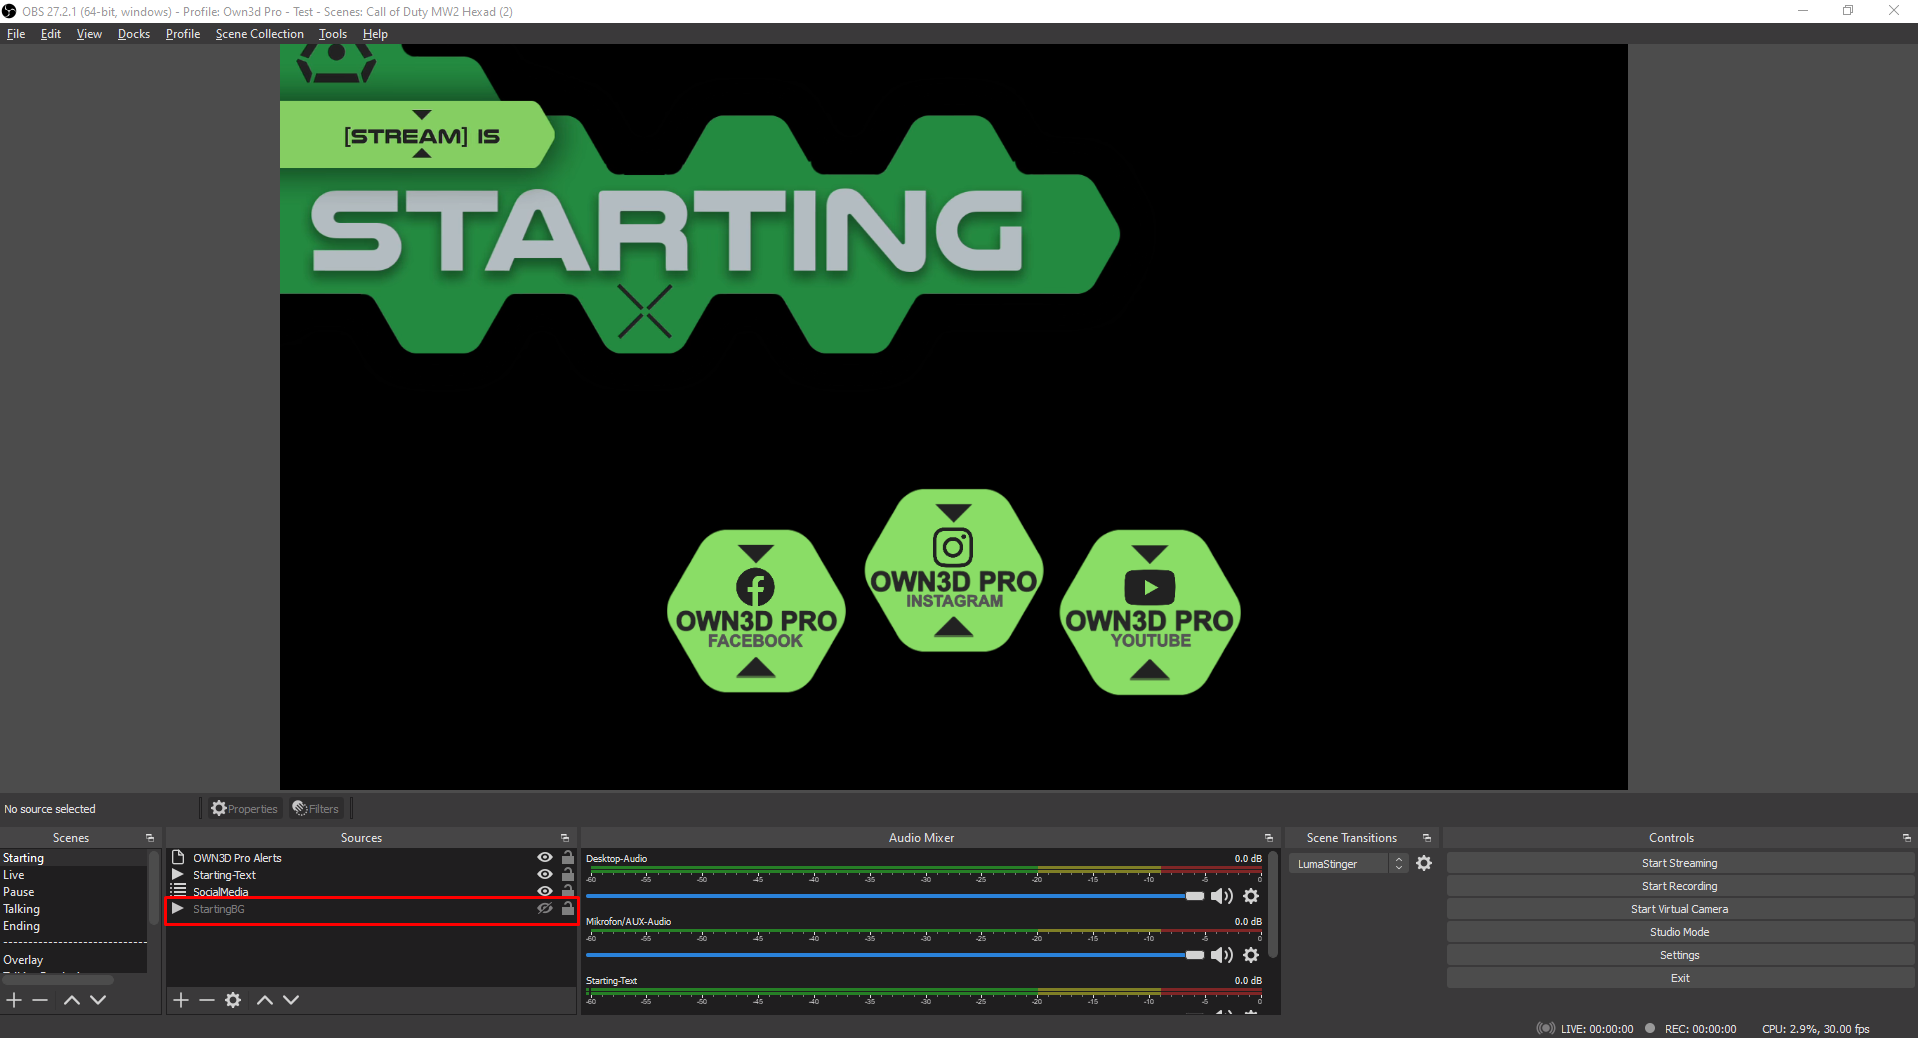
If you want to remove the background, you can click the eye next to the "StartingBG" media source
If you want to change the position of one or multiple elements in the sources, click on the source you want to move, then left-click + hold and drag and drop it
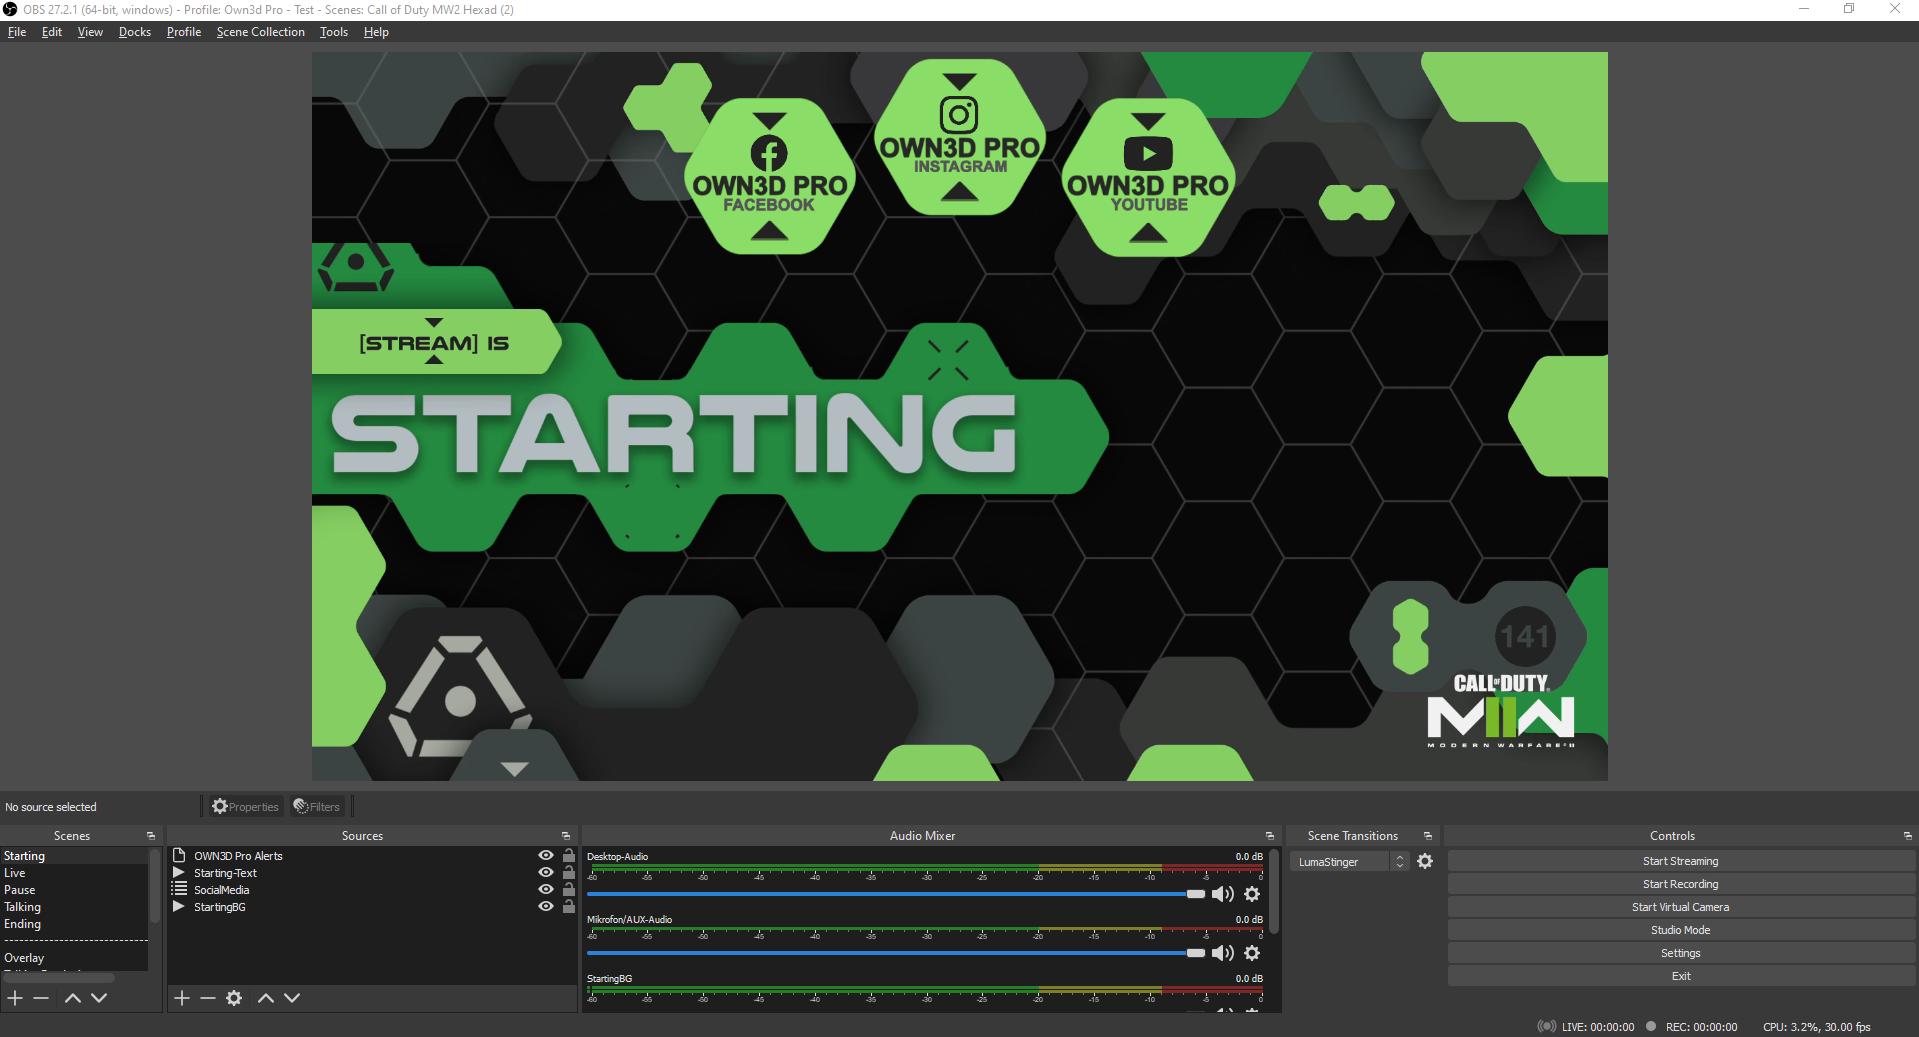
If you want to change the position of one or multiple elements, in the sources click on the source you want to move and then left click + hold and drag and drop it
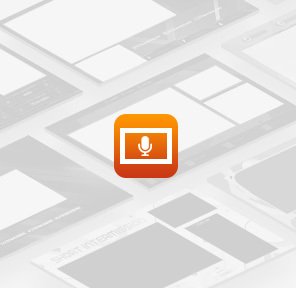
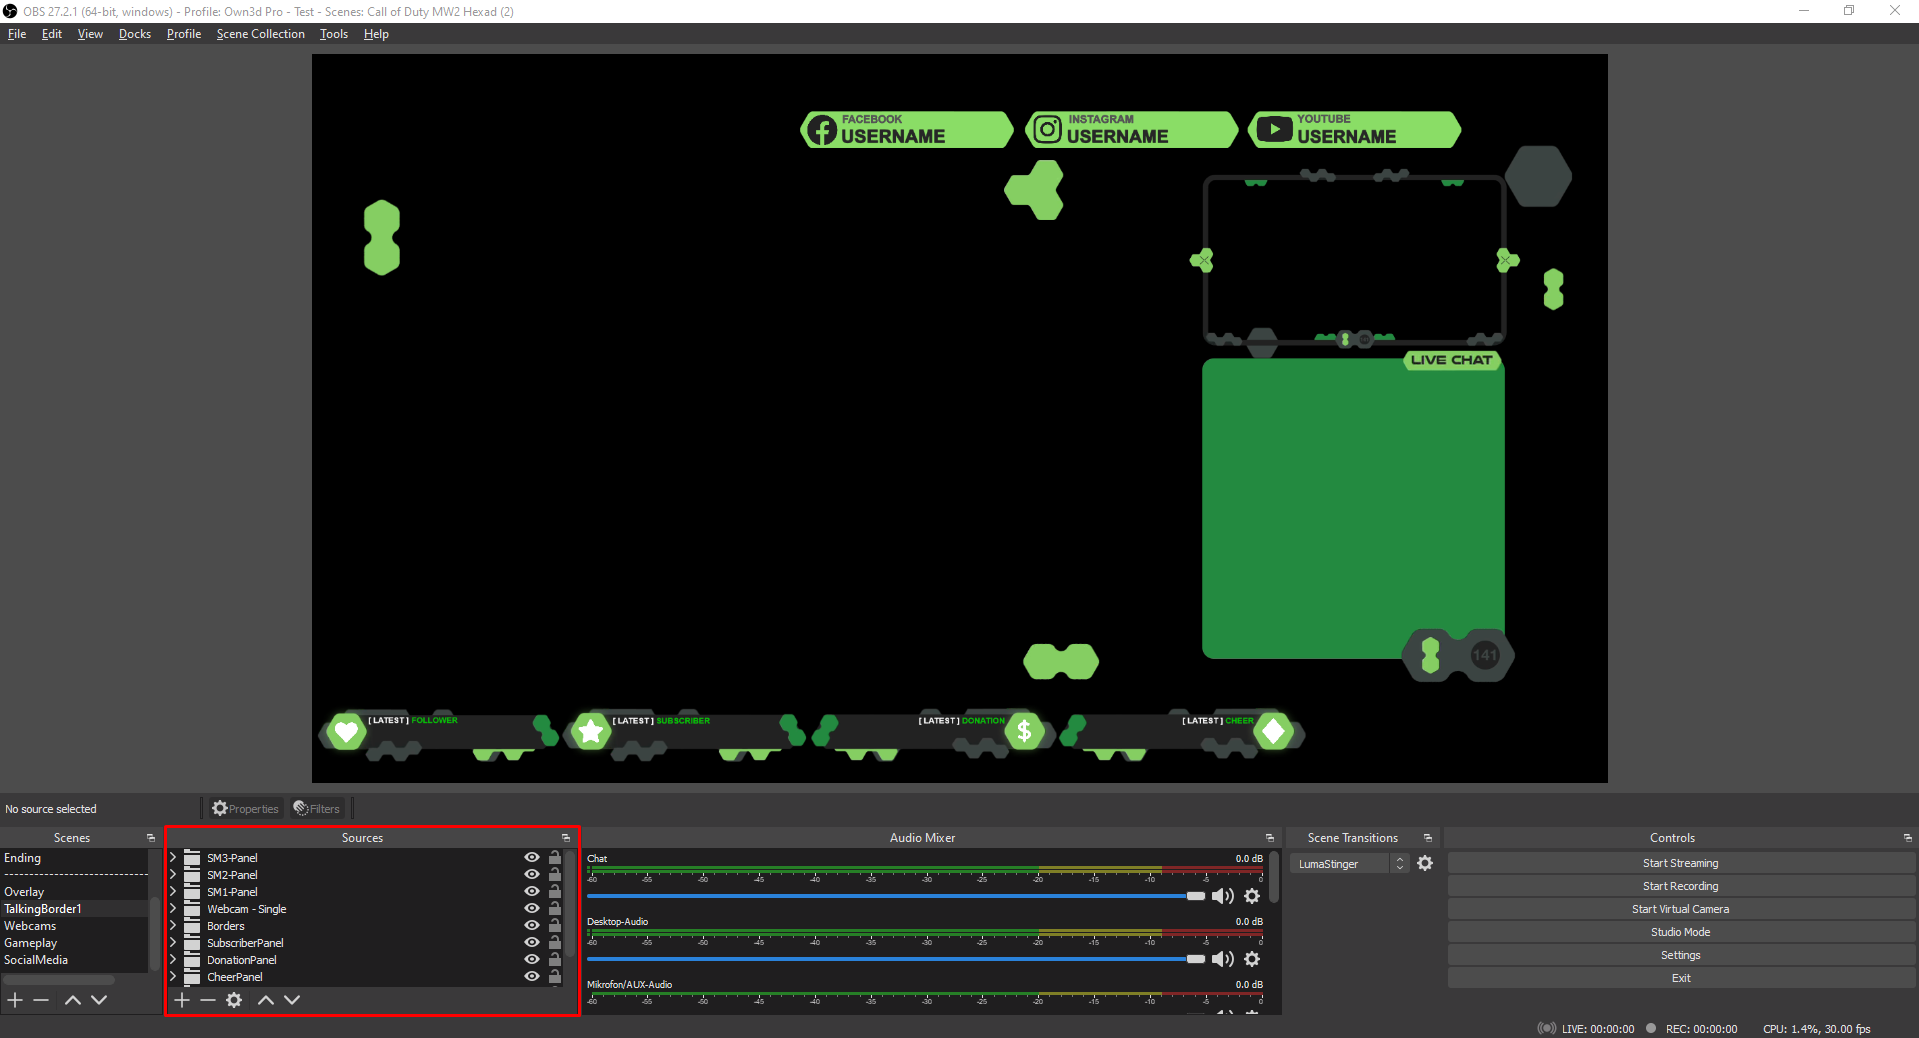
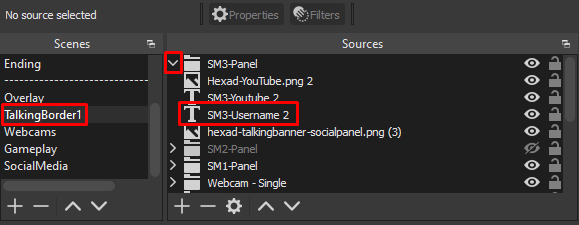
How to adapt your Talking banner
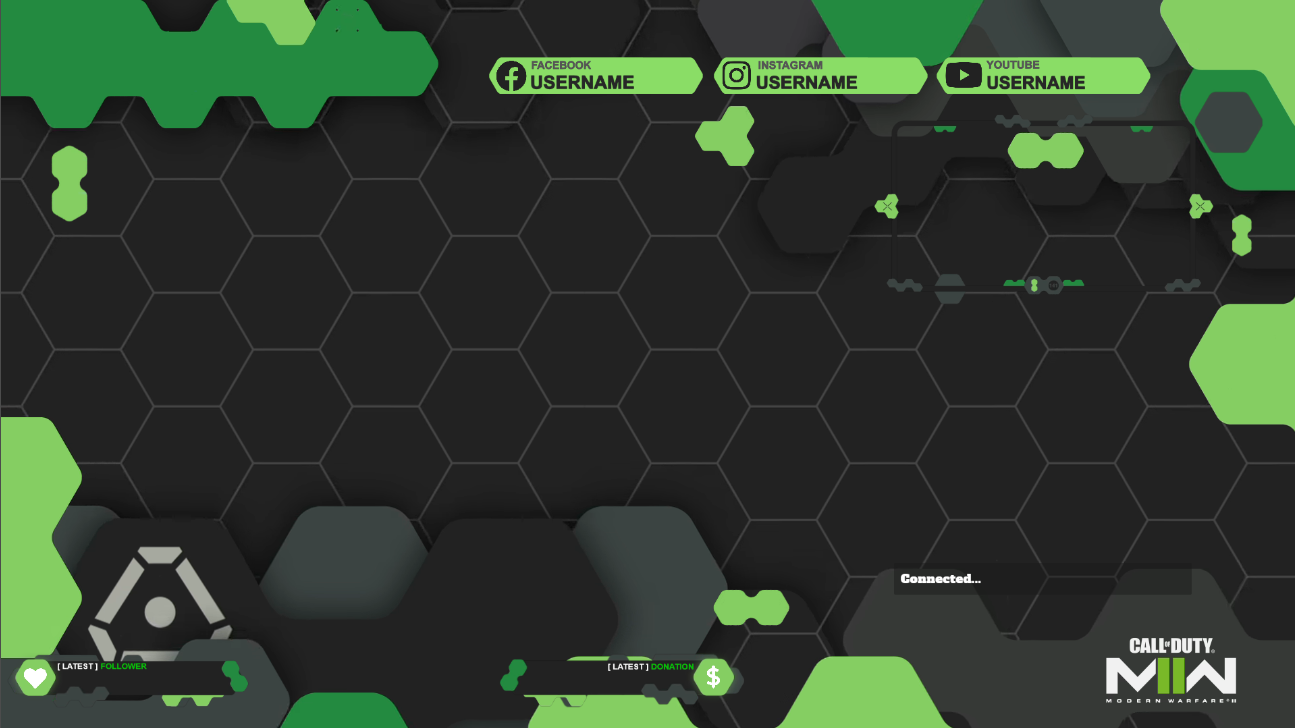
You can adapt your "Talking" scene above the dotted line layout by selecting the "TalkingBanner1" scene below the dotted line. Changes in the "TalkingBanner1" will also affect the "Talking" scene.
You can disable sources by simply clicking the eye on the right side of your sources; these changes will be visible in your live "Talking" scene above the dotted line and in the preview here
You can disable sources by simply clicking the eye on the right side, these changes will be visible in your live “Talking” scene above the dotted line as well as in the preview here.

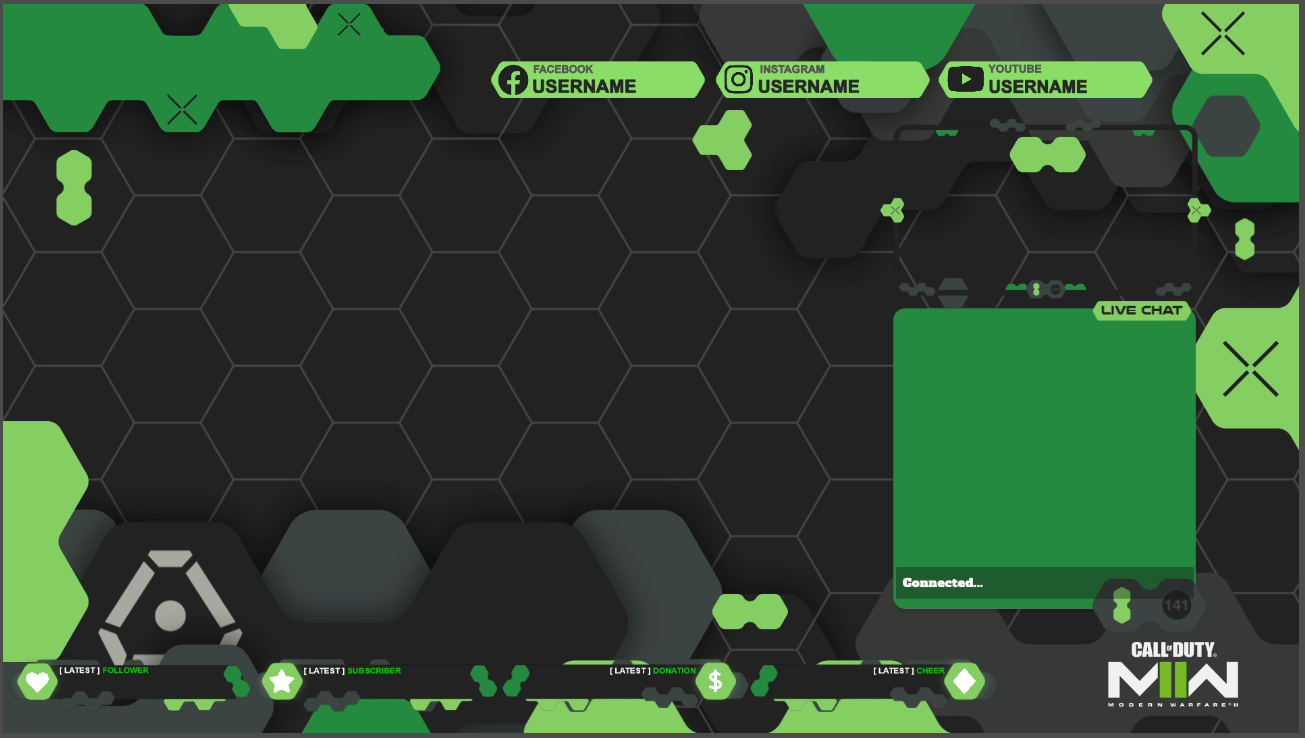
Here is the original layout for "Talking"
If we now go below the dotted line into "TalkingBanner1" and disable the latest cheer, latest subscriber, and the chat like in this example
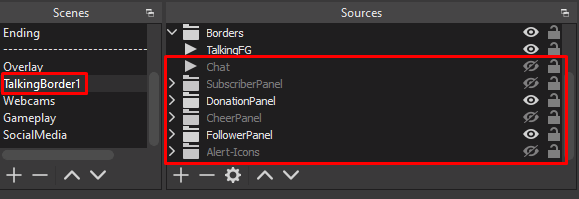
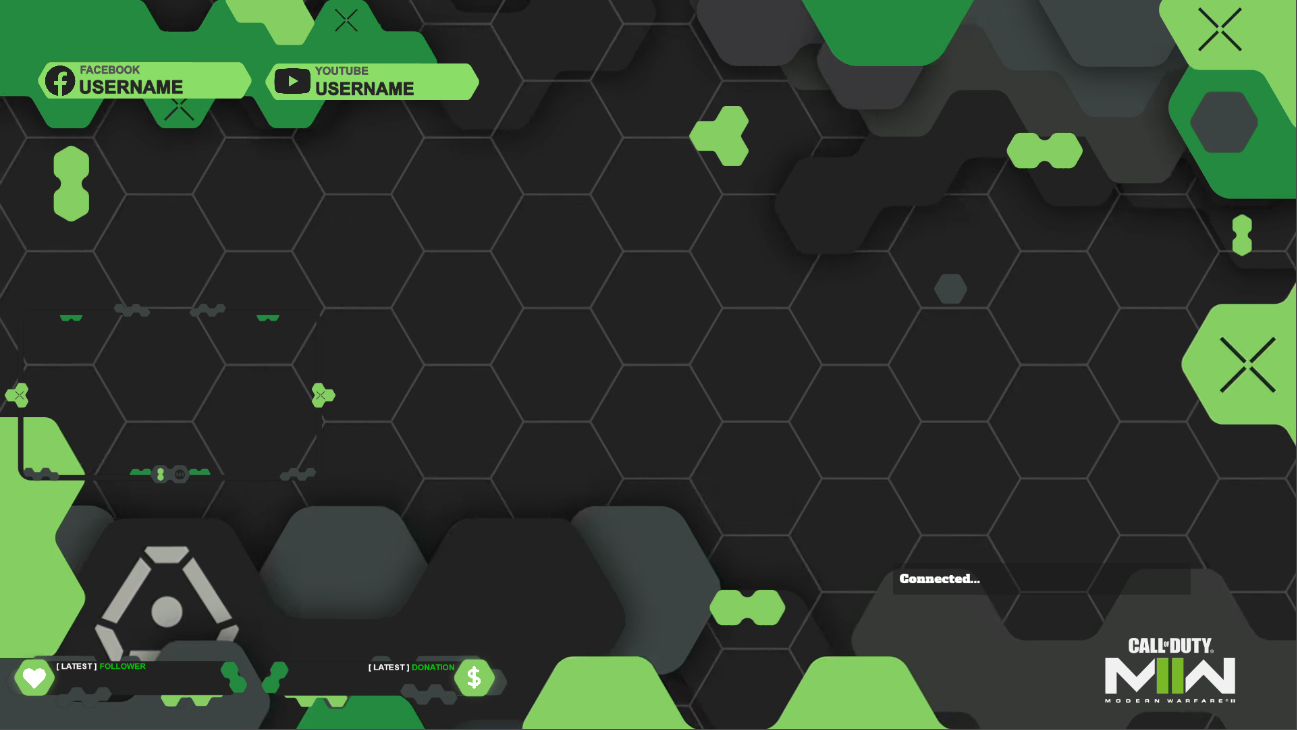
Then the "Talking" scene will adapt to this
By disabling sources or moving them around in your "TalkingBanner1" scene below the dotted line, you can freely adapt your scenes to your liking
If you want to update your username, go into your "TalkingBanner1" sources, click on the drop-down button and click on "username"
Now change the username to your creator name, adapt this for all the social media panels, and you're good to go!